
I like to call these my kitchen sink homemade granola bars because they help use up random ingredients in your pantry while making a wholesome, chewy granola bar that's perfect for snacks. They also happen to be gluten free!

I used to be intimidated by making granola bars, but earlier this summer I got inspired by all the random stuff in my pantry that I honestly just wasn't using up. I mean, I had the best of intentions with millet. I really did! But let's just say I conveniently didn't look at the expiration date when I made these... ignorance is bliss.
The first batch turned out SO good that I've been making some variation of these every week since. My partner and his son love them (apparently more than homemade granola?!), our friends love them, and they're surprisingly easy. Just mix, press into a pan, and gently bake for 20 minutes. The hardest part is waiting for them to cool and set before eating one!
I'll share exactly what I used, but this recipe is really about the ratio so you can use whatever grains, nuts, and seeds are hanging around your pantry. Three half-used bags of sliced almonds? I don't even know her.
As an active family, these have been so great for longer training bike rides, pre-run fuel, hiking, mountain biking, and camping. They're also great for after-school snacks and make you feel good about feeding your kids something nourishing that they're excited to eat.
Jump to:
Let's Walk Through the Ratio, Real Quick
The best part of these granola bars is that once you get the ratio down, you can be flexible with ingredients. So great for using up items that are haunting your pantry!
- 2 cups grains: I like 1 cup oats + 1 cup other grains (such as millet, quinoa, buckwheat, more oats)
- Side note, I think a puffed rice cereal of sorts could work well here... I'm sure I'll test it soon. Will report back.
- 1 cup add-ins: think nuts, seeds, coconut flakes, chopped dried fruit, chocolate chips, etc.
- ½ cup any nut or seed butter + ⅓ cup honey + 1-2 teaspoons vanilla (this is our binding mixture for the bars)
- Optional spices: I like a little salt to balance the sweetness, and I also love cinnamon.
Getting creative with grains: Quinoa, buckwheat, and millet can be used in granola recipes, too. I use quinoa in my pumpkin spice granola for added texture and nourishment, and it's so good!
Step-By-Step: Kitchen Sink Homemade Granola Bars
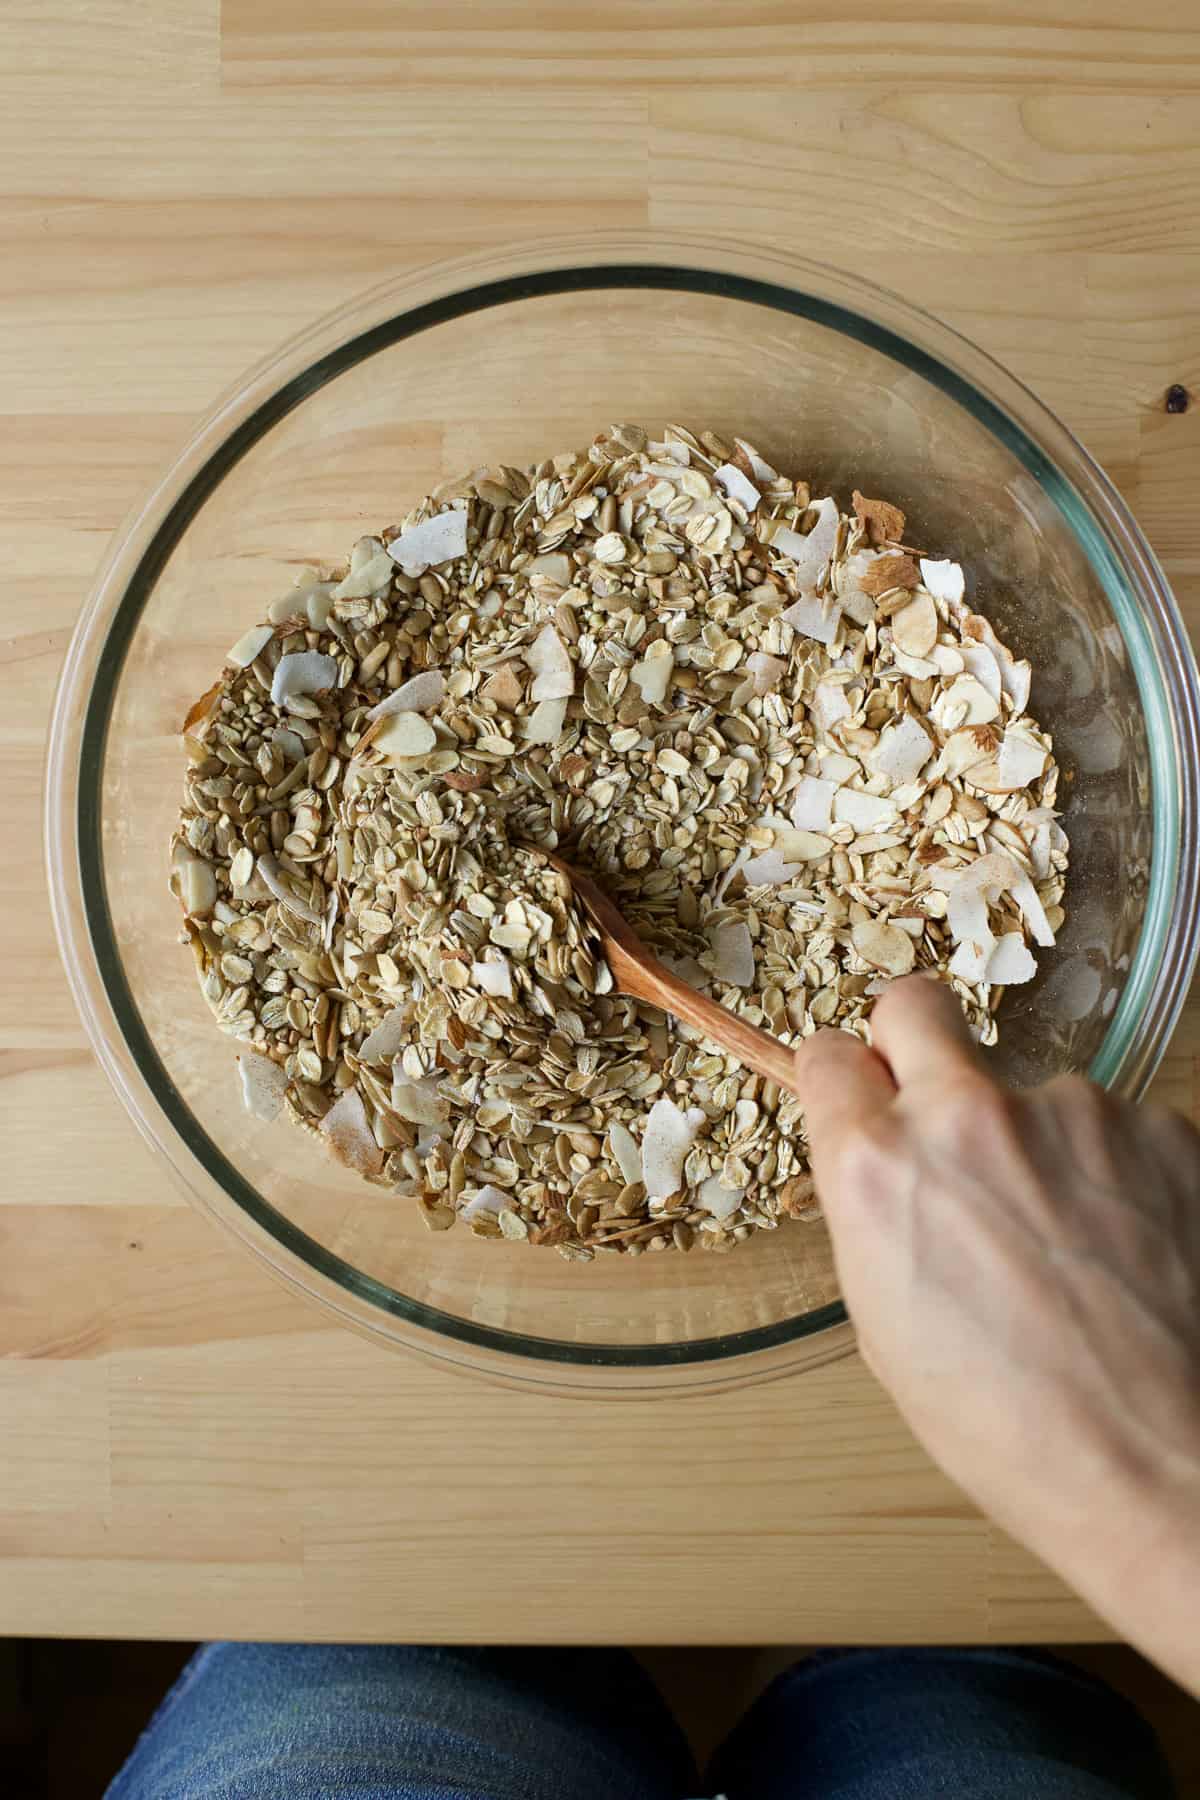
- Step 1: Preheat your oven to 300 degrees and line an 8x8-inch baking dish with parchment. Combine all dry ingredients into a bowl, making sure to distribute salt well.
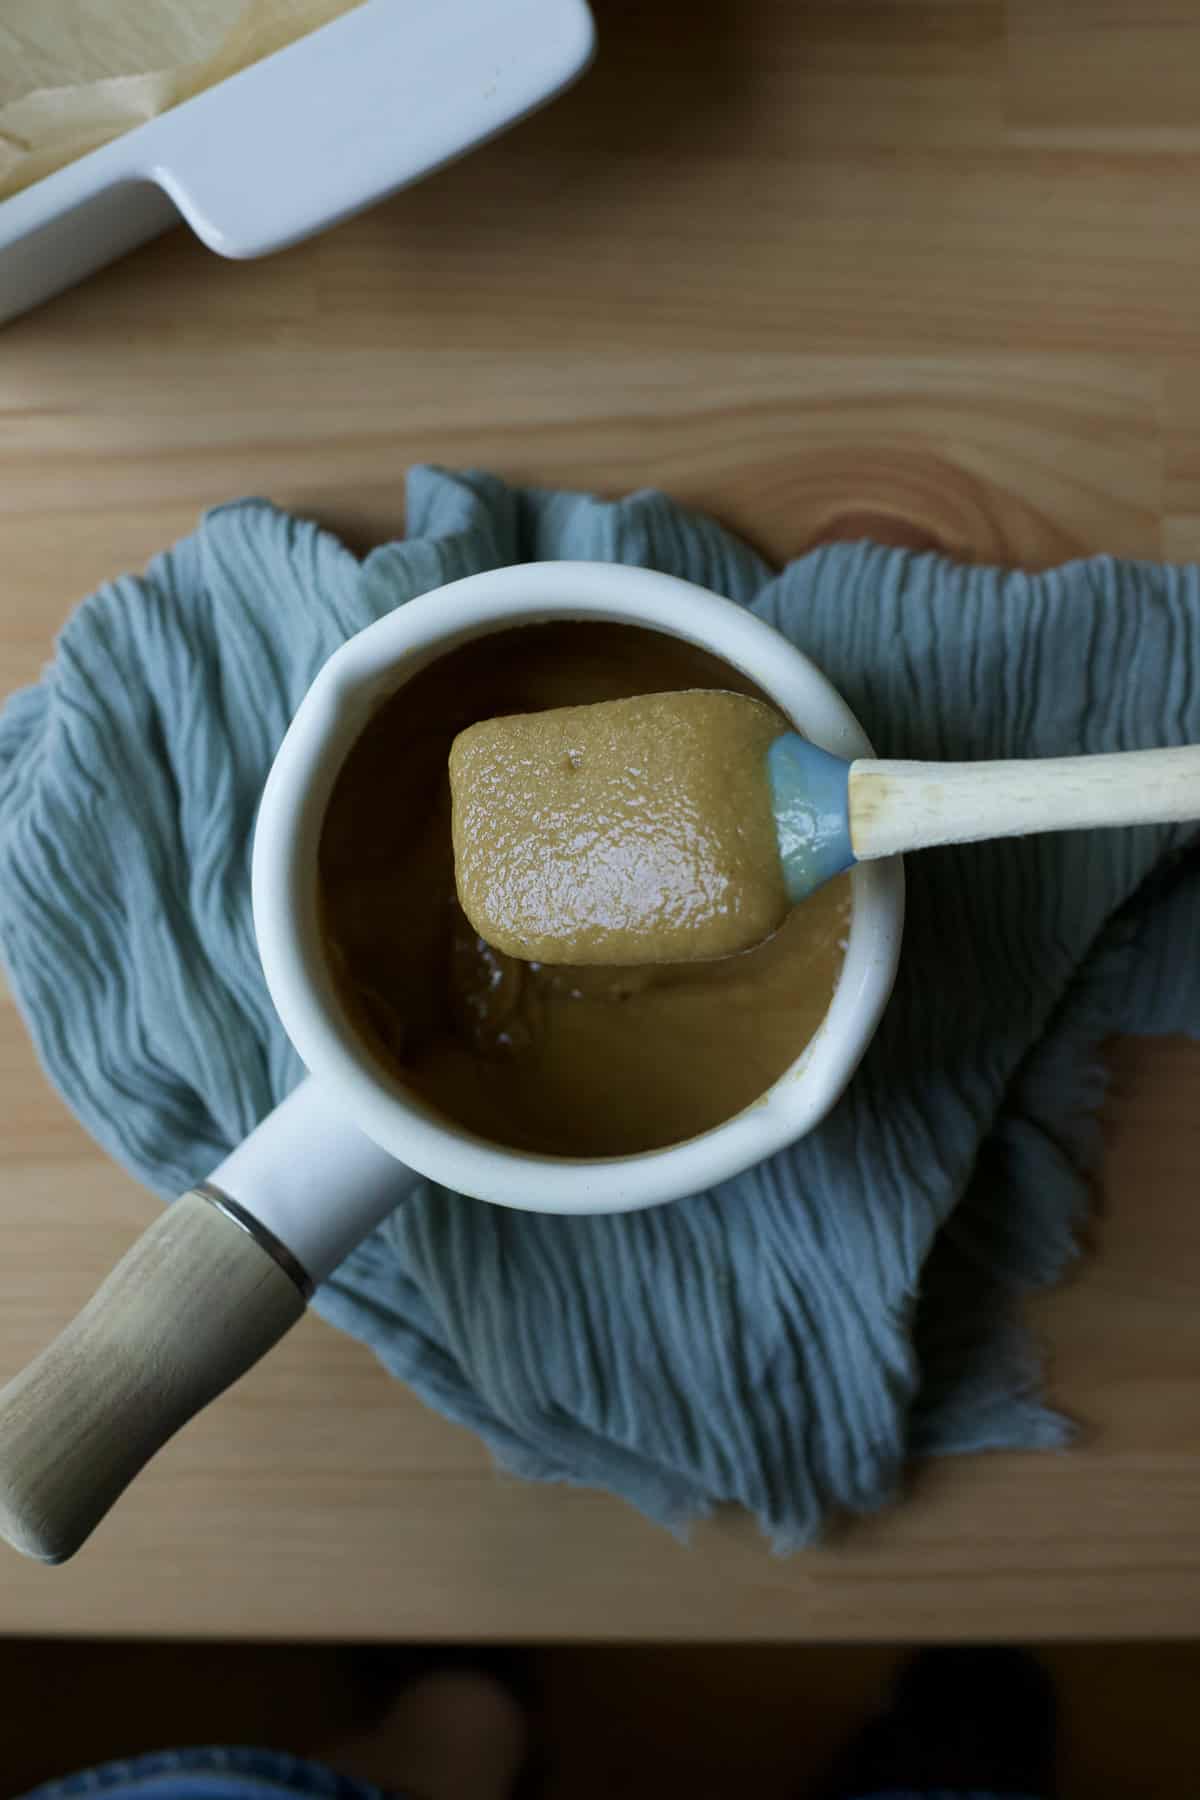
- Step 2: Heat tahini (or nut butter) and honey over medium heat until just bubbly, then remove and stir in vanilla.
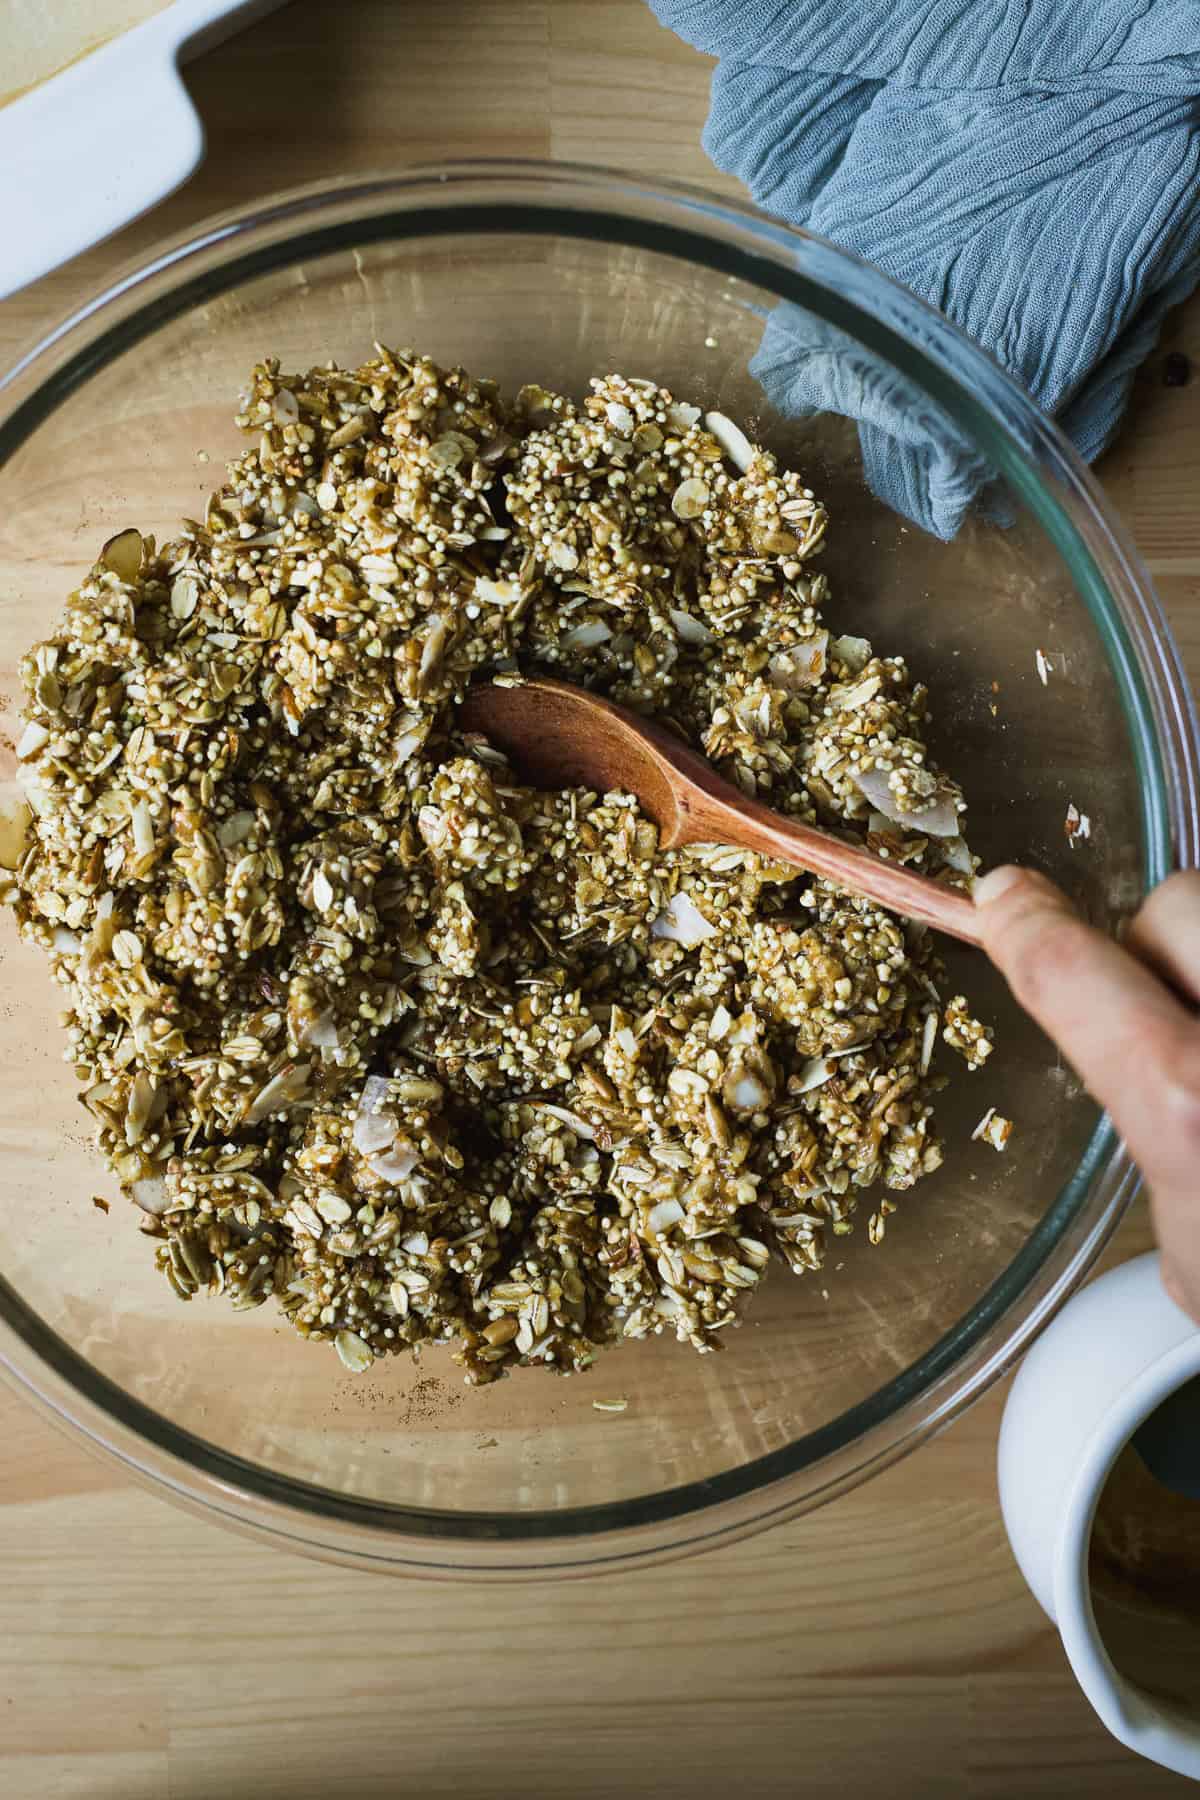
- Step 3: Work quickly to pour the nut butter-honey mixture into the dry ingredients, and stir until evenly mixed. Feel free to get in there with your hands, if easier!
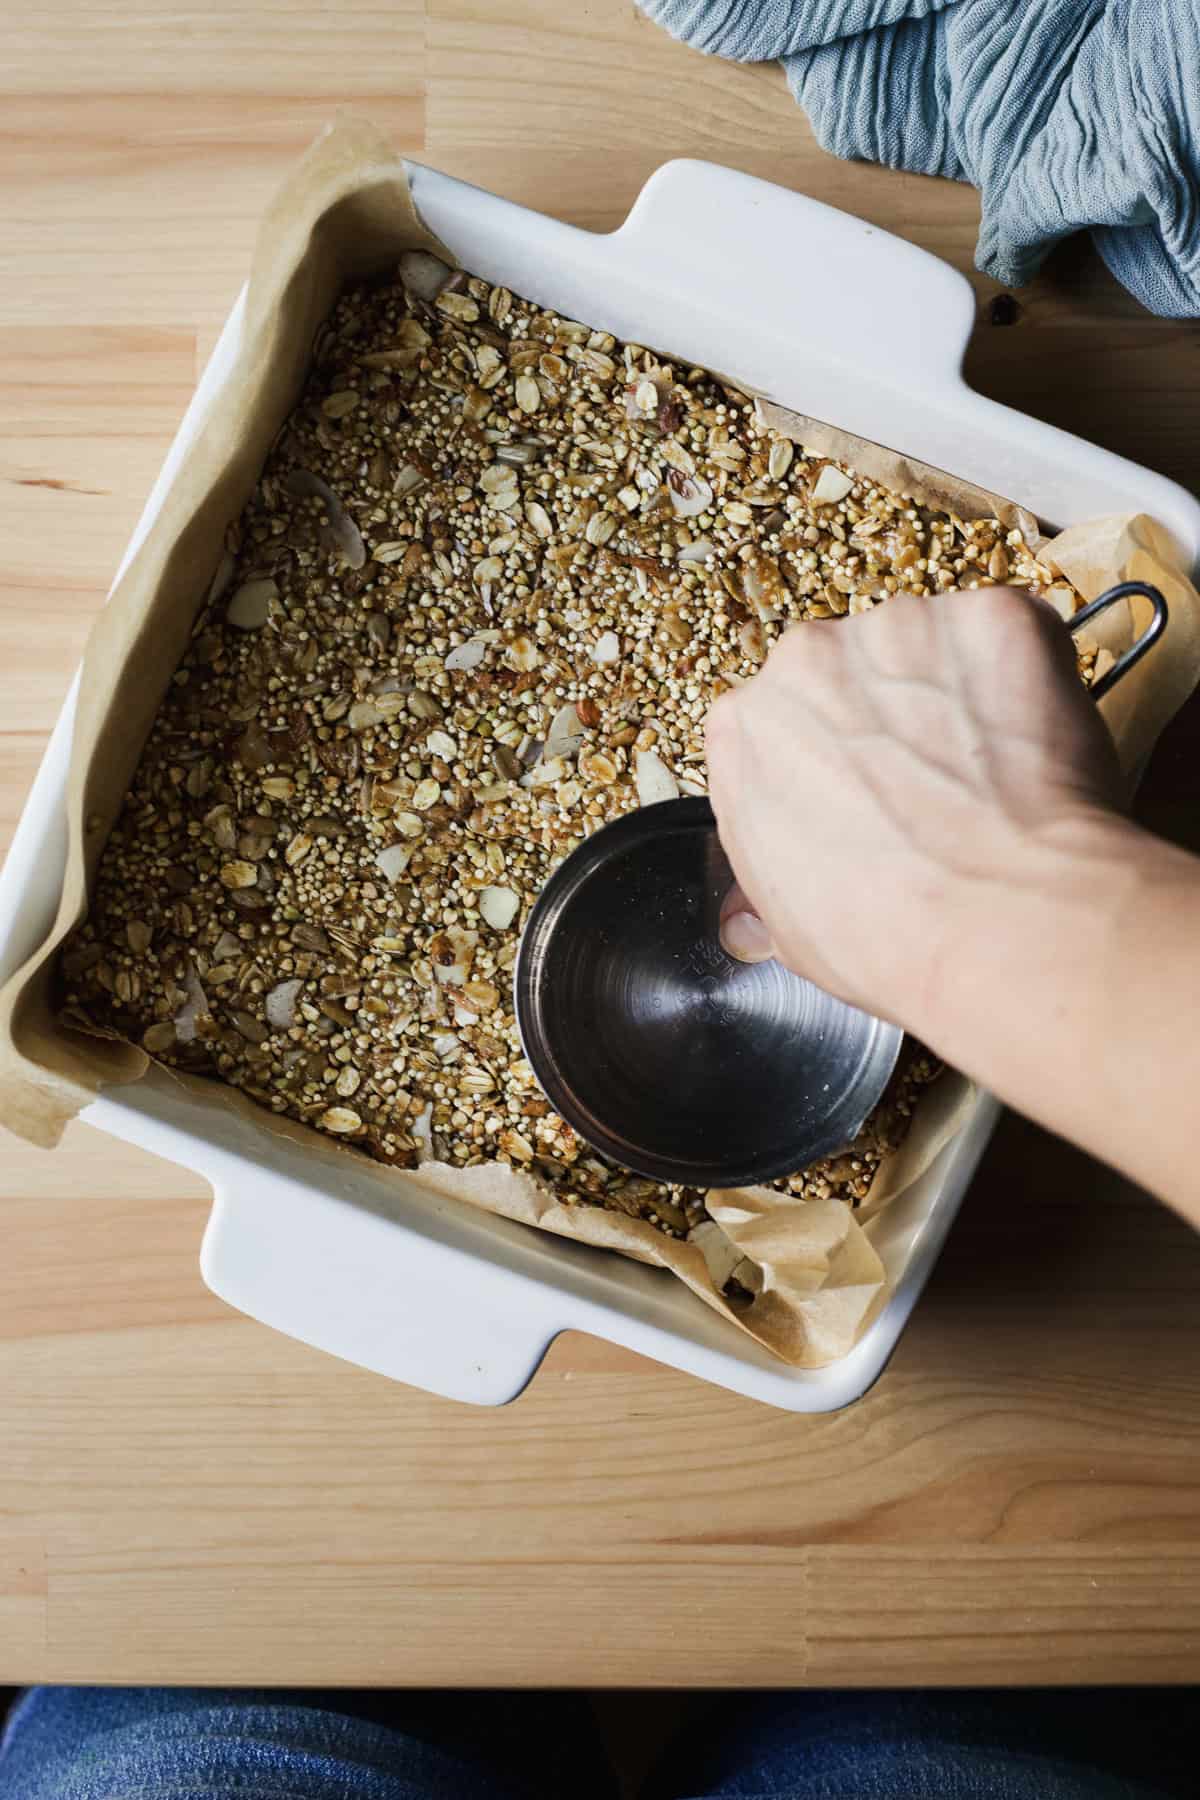
- Step 4: Transfer the granola bar mixture to the prepped baking dish, and press everything down evenly. Use the bottom of a glass or measuring cup to really get everything compact.
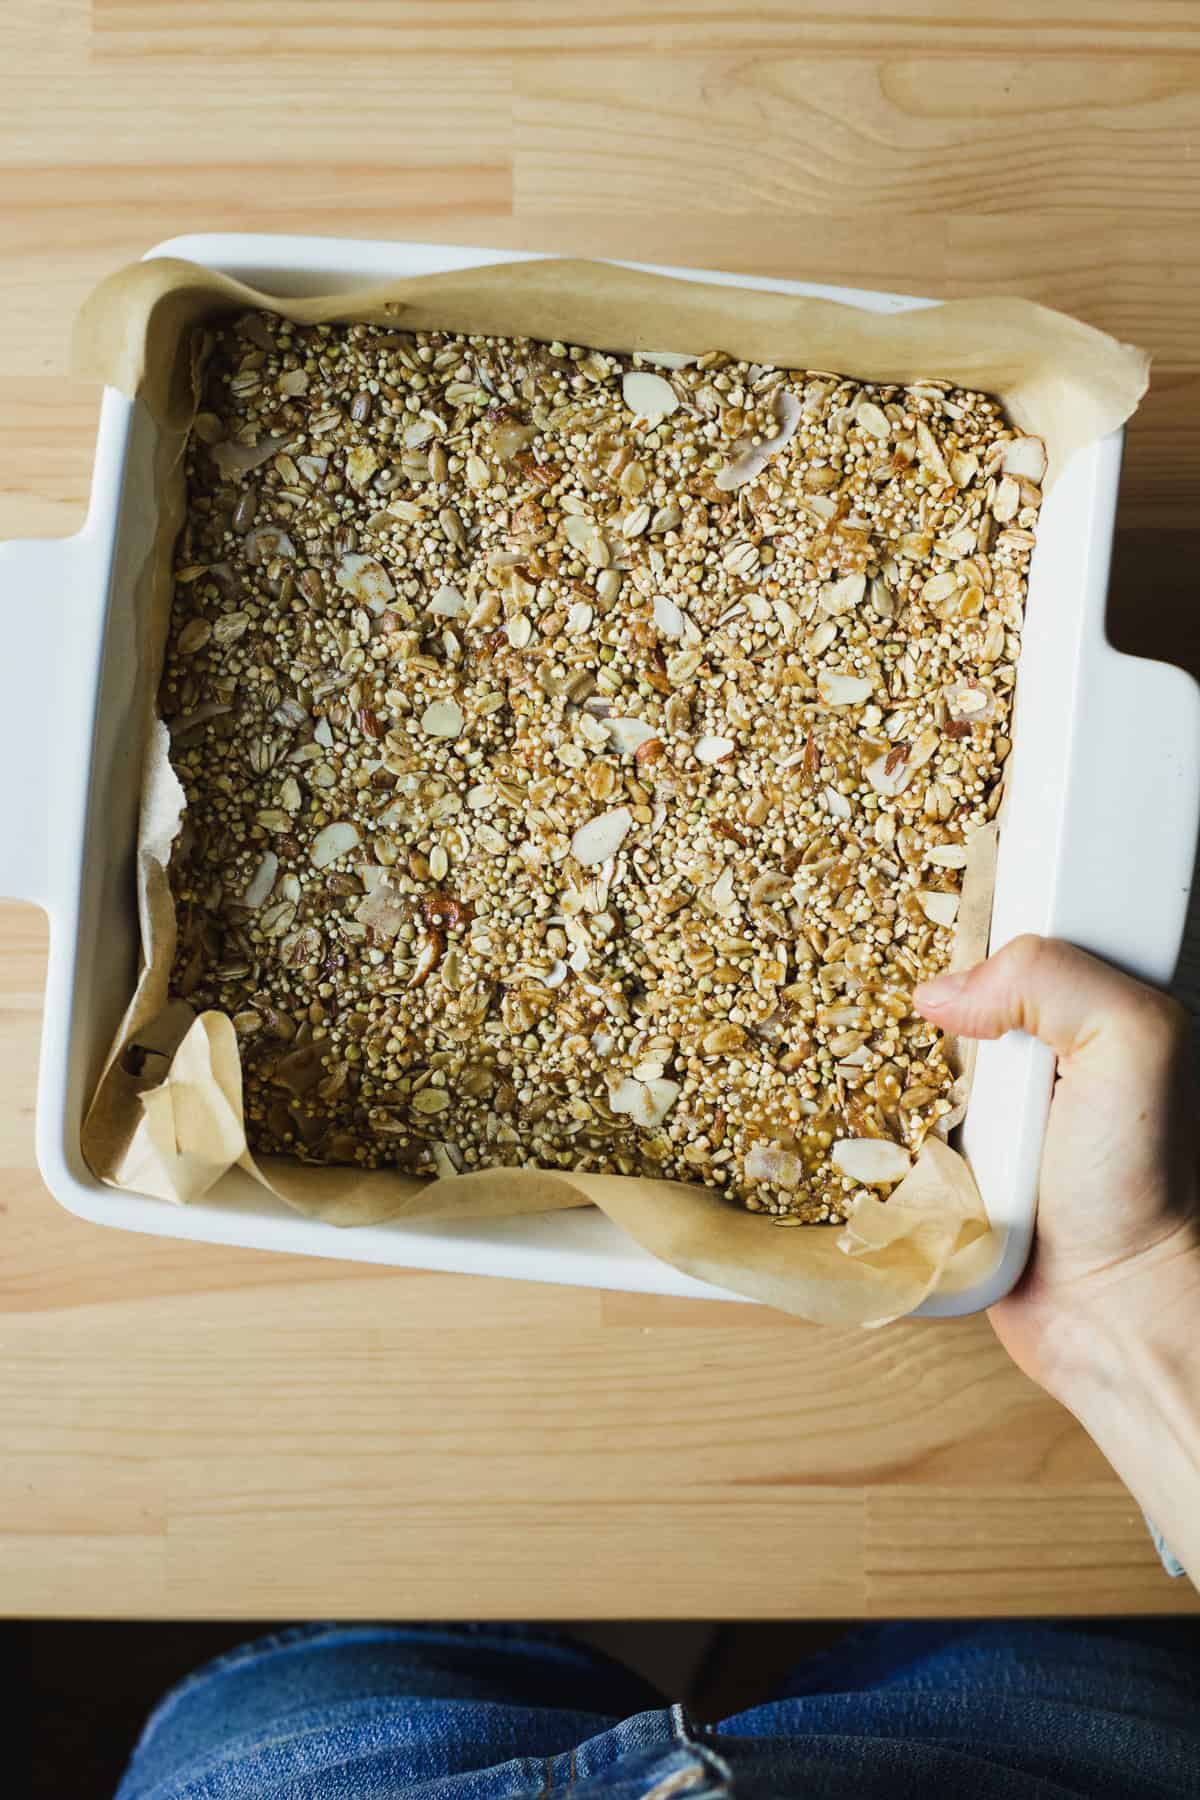
- Step 5: Bake for 20 minutes at 300 degrees, then cool for 30 minutes. Transfer to the fridge to chill for at least 1 hour, which helps them set.
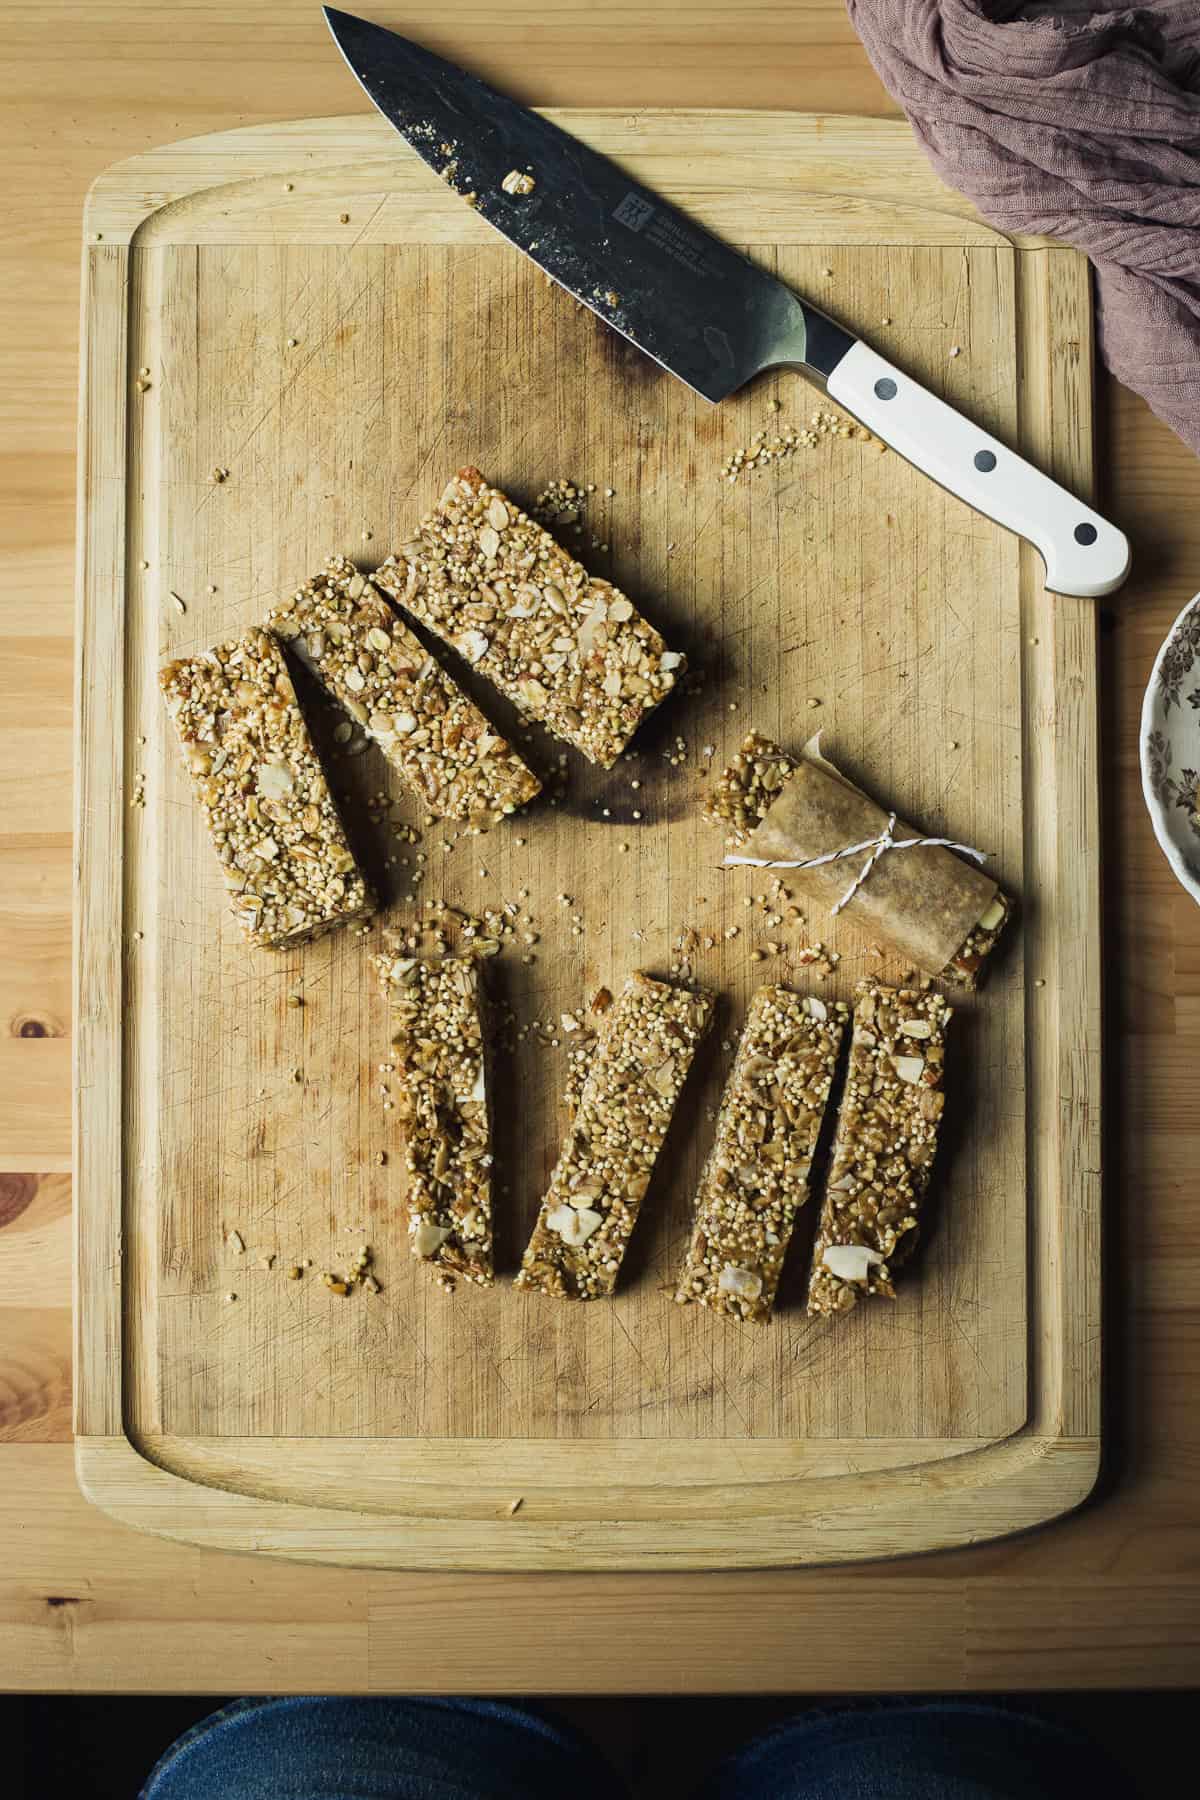
- Step 6: Remove chilled bars from the fridge and cut into whatever size you'd like. I usually do 12 bars.
A Note on Using Chocolate Chips
Chocolate chips will melt a bit and distribute throughout the bars, so don't expect perfectly shaped chips like you'd find in a store-bought granola bar. They are, however, very good!
For bars that hold together best, I recommend chopped chocolate (including chopping the chocolate chips), or use mini chips. Or, leave the chocolate out of the bars and drizzle melted chocolate over the top after they've cooled.
Do You Need to Heat the Nut butter & Honey?
I tested both ways, and yes. I do think you get the best results when heating the nut butter and honey together in a pot first. For one, it's easier to mix the grains for the bars, so it gets better distributed throughout for a uniform bar shape.
Also, it reinforces the honey as a binder, so the bars remain chewy but stable. I found that without heating the honey, the bars would bend and fall apart more. Tastes delicious either way, but I was looking for sturdy (yet chewy) bar.
You Might Also Like...
Did you make these homemade granola bars? I'd love to hear how they turned out! Leave a ⭐️ rating and comment below, and follow along on Instagram, Pinterest, and my newsletter for more everyday seasonal recipes.
📖 Recipe

Kitchen Sink Granola Bars
- Total Time: 2 hours
- Yield: 12 bars 1x
Description
A flexible homemade granola bar recipe made with a mix of pantry staples: grains, nuts, seeds, and whatever else needs using up. They're hearty, chewy, lightly sweet, and perfect for easy snacking.
Ingredients
- 1 cup rolled oats
- ½ cup millet
- ½ cup buckwheat
- 1 cup nuts & seeds (e.g. sliced almonds, sunflower seeds, pumpkin seeds, chopped coconut flakes, etc.)
- ½ teaspoon cinnamon
- ¼ teaspoon salt
- ½ cup tahini (or peanut butter, almond butter, etc.)
- ⅓ cup honey
- 2 teaspoons vanilla extract
 Get Recipe Ingredients
Instructions
- Combine the dry ingredients. Preheat oven to 300°F and line an 8x8-inch pan with parchment. Combine oats, grains, nuts and/or seeds, cinnamon, and salt in a large bowl, stirring well to evenly distribute the salt.
- Heat the nut butter and honey. Heat tahini (or nut butter) and honey in a small saucepan over medium heat, stirring occasionally. Once it just starts to bubble, remove from heat and stir in the vanilla until smooth.
- Mix. While still warm and runny, pour the nut butter mixture over the dry ingredients and stir thoroughly. Work quickly here-you can even get in there with your hands to make sure everything is evenly coated.
- Press into the pan. Transfer to the prepared pan and press down firmly and evenly. I use the bottom of a drinking glass or measuring cup to get it as compact as possible!
- Bake and chill. Bake for 20 minutes, then cool completely in the pan, about 30 minutes. Refrigerate for 1 hour to set, then cut into bars and enjoy.
Notes
- Salt. Really make sure you stir to get this distributed! I've had a few batches with really salty bites when I didn't stir well. Another option could be to stir this in the with the nut butter and honey.
- Storage instructions. Store at room temperature in an airtight container for a up to a couple weeks.
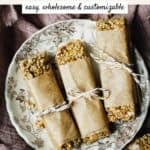
- Packing for on-the-go. These are awesome on-the-go snacks! I like to wrap them in parchment paper, or place them in a stainless steel container or silicone bag as lightweight, reusable options.
- Prep Time: 10 minutes
- Cool + Chill Time: 90 minutes
- Cook Time: 20 minutes
- Category: Snack
- Method: Baking
Nutrition
- Serving Size:
- Calories: 228
- Sugar: 7.9 g
- Sodium: 56.6 mg
- Fat: 9.7 g
- Carbohydrates: 30.4 g
- Fiber: 2.6 g
- Protein: 6 g
- Cholesterol: 0 mg
Leave a Reply