
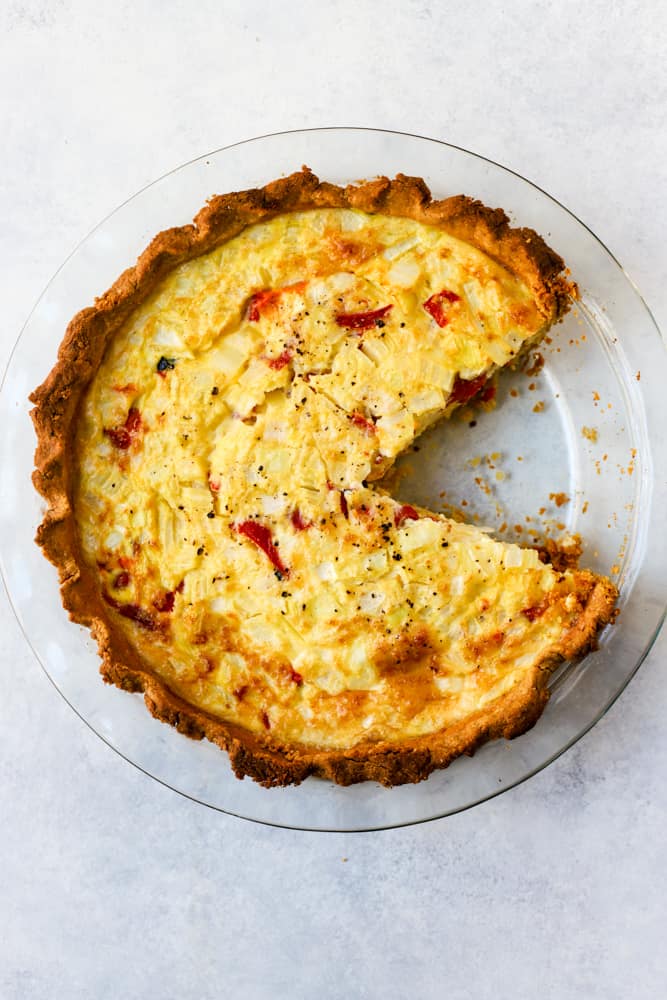
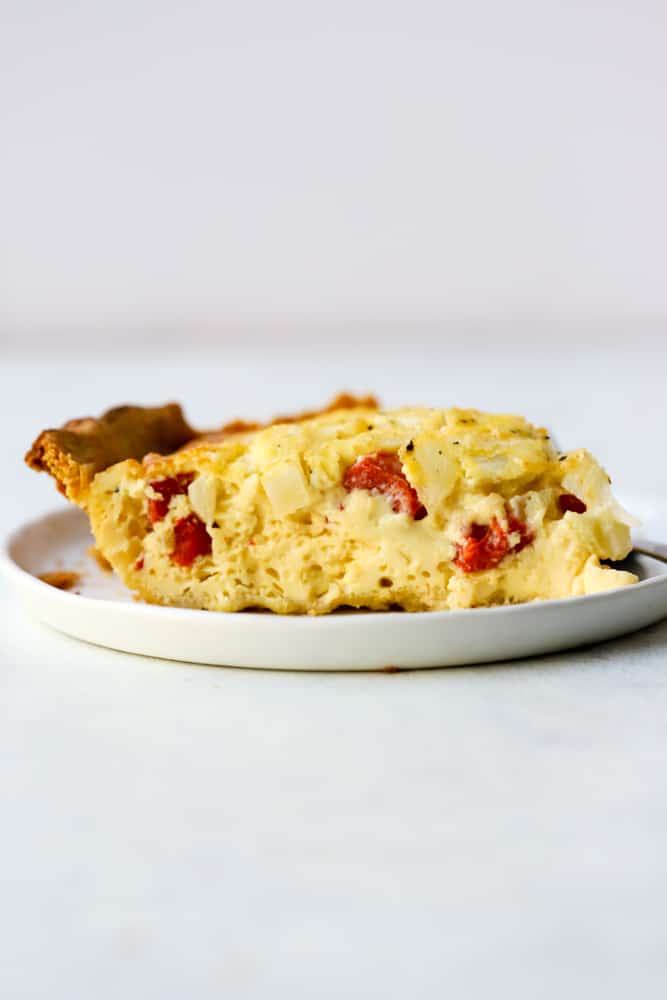
A simple quiche recipe with roasted red peppers and cheese! Perfect for Sunday brunch or breakfast, with a gluten free crust.

The simplicity of fluffy, cheesy eggs in a flaky pie crust never gets old, and even better when the pie crust is made from chickpea flour! For us, that means it's higher in protein, fiber, and has an awesome savory flavor.
What I love about quiche is that it's a food for all occasions. It can be a healthy, high-protein every day meal, just as much as it's for holiday brunches or family visits. It's perfect shared with guests in the morning over coffee, and even delicious as lunch the next day.
Roasted Red Pepper Quiche Step-by-Step
- First, make the chickpea flour pie crust. You'll whip up this all-butter chickpea flour pie crust and chill the dough for at least thirty minutes before rolling it out and blind baking it. I like to make this the night before and let the pie dough chill in the fridge overnight.
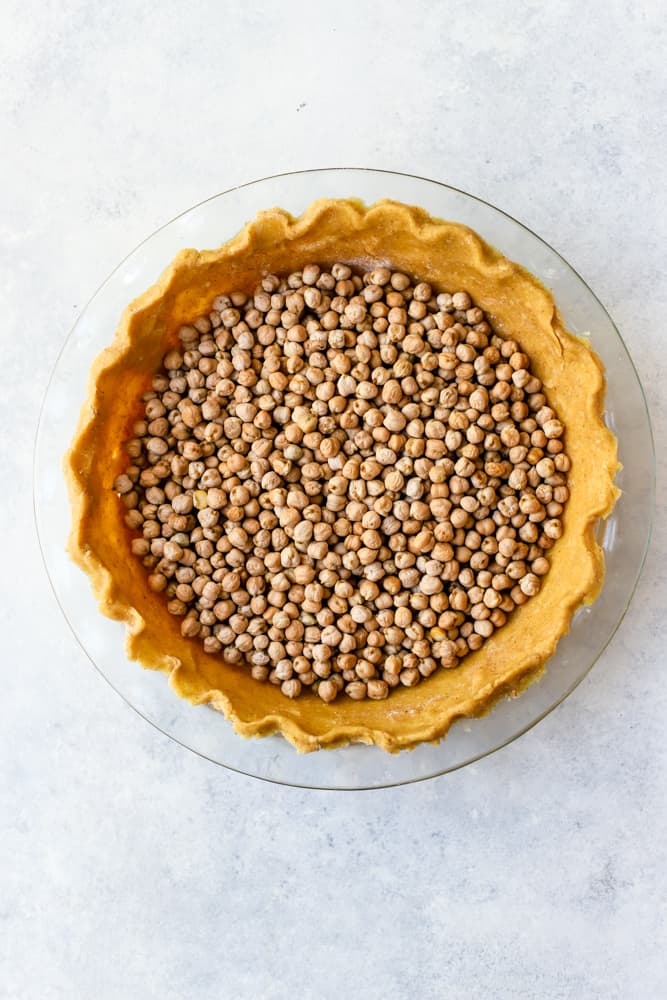
- Partial blind bake. For quiches, you need to partially blind bake the crust (about 7-8 minutes), so that you're not pouring raw eggs onto soft pie dough, ultimately making it soggy. Partially blind baking the crust helps harden the dough slightly so that it stands up to a wet egg mixture while baking. Success Tip: I recommend using dried beans or two packs of these pie weights (affiliate link) to keep air pockets from forming beneath the crust. Just place the dried beans or pie weights over parchment paper on the crust (or place directly on the crust), bake, and remove before filling.
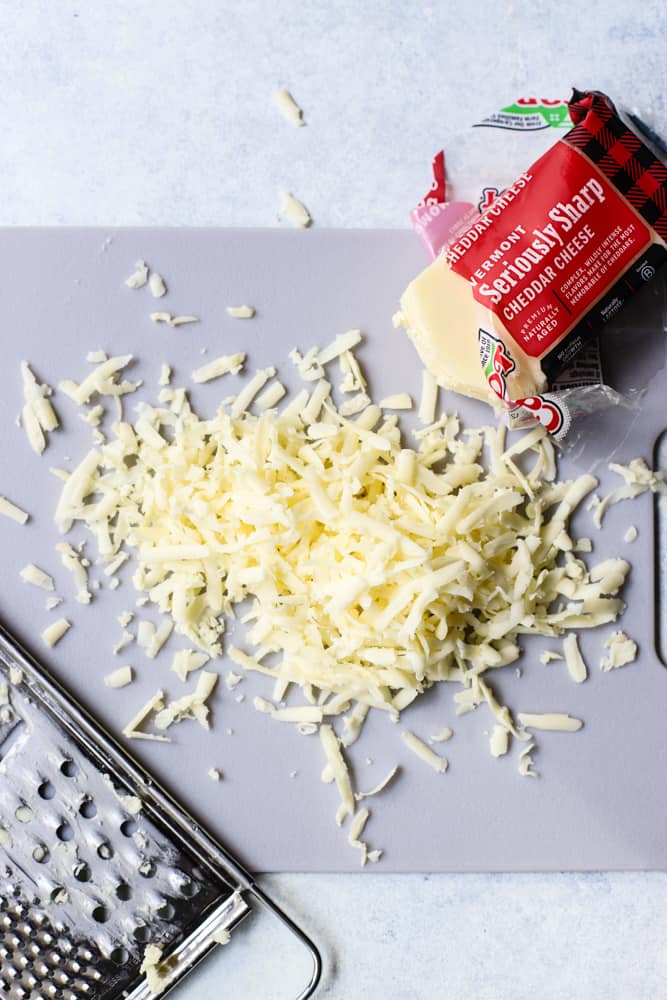
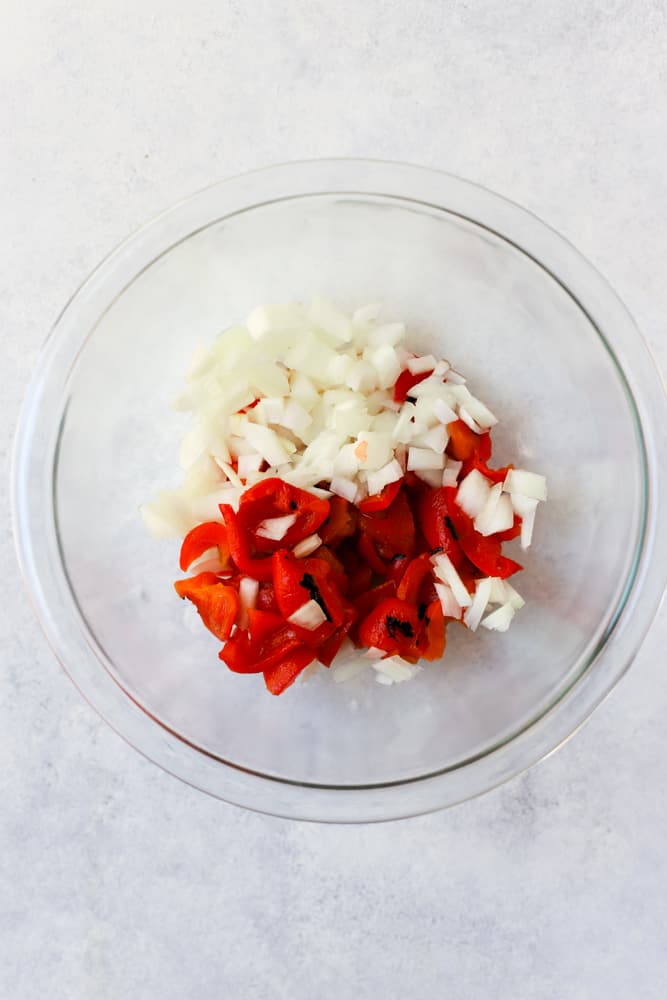
- Prep filling add-ins. You can do this part while partially blind baking the crust. For this recipe, you'll be grating cheese and chopping the onions and roasted red peppers.
- Blend eggs, milk, salt, and pepper. I love to blend my eggs and milk for for SUPER fluffy eggs! For this step, just crack your eggs into a blender, add milk and spices, then blend (20 seconds should be plenty).
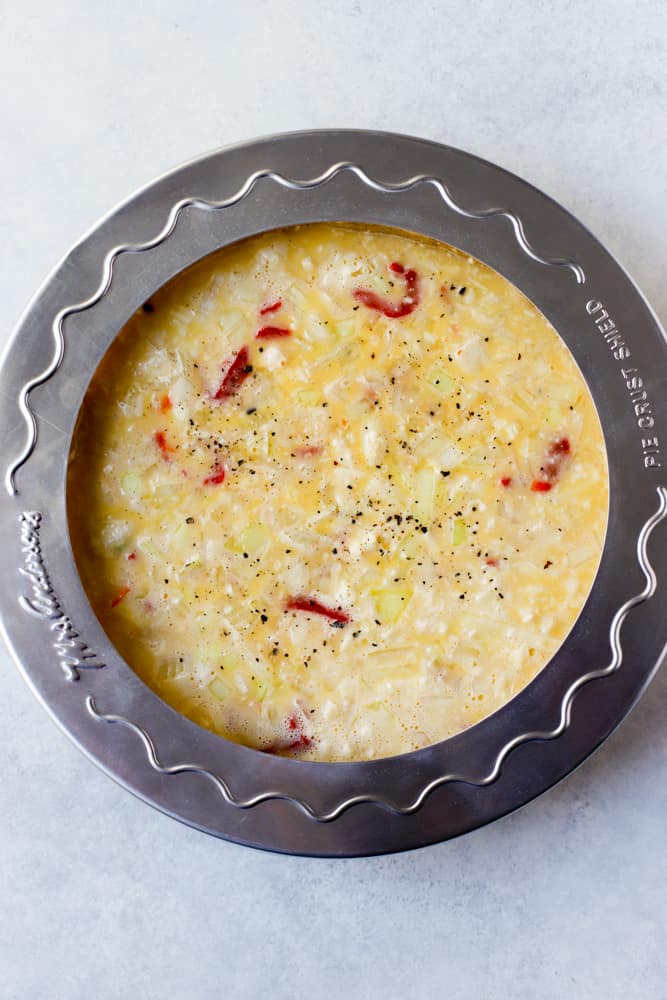
- Add ingredients to crust. Place veggies and cheese in your blind baked pie crust, and then pour egg mixture over the top.
- Bake. Finally, you'll bake the quiche for at least 50 minutes, or until the eggs are almost completely set (not jiggly in the middle).
Quiche Add-in Ideas
Here are some add-in combo ideas for your healthy quiches!
- Sun-dried tomato + goat cheese + spinach
- Mushroom + ham + cheddar
- Cherry tomato + zucchini + basil + parmesan
- Italian sausage + kale + potato + parmesan
- Onion + roasted red pepper + feta
- Bell peppers + mushroom + jalapeño + pepper jack
Let me know all your quiche ideas and creations, please!
FAQs
- Should I cook quiche filling add-ins first? If you're using tougher veggies in your quiche filling, such as broccoli or potatoes, you'll want to sauté them first to soften them (or use leftovers that have already been cooked). But for most other veggies, they'll have enough time baking in the quiche to cook through, if you chop them up small enough. If you're using meat, make sure it is pre-cooked.
- How do I store & reheat quiche? Store quiche in an airtight container (I prefer glass) in the fridge for up to a week. You can reheat quiche in the microwave, or in a pan to crisp up the crust again.
- Can I freeze quiche? Yep! Allow the quiche to cool completely after baking, cover with a couple sheets of aluminum foil, and freeze. Quiche will keep frozen for up to three months. To reheat, thaw in the fridge or at room temp, then bake at 350 for 20-25 minutes.
Quiche is delicious with...
- Wholesome raspberry lemon muffins or something sweet on the side
- Some pesto roasted potatoes
- A simple salad
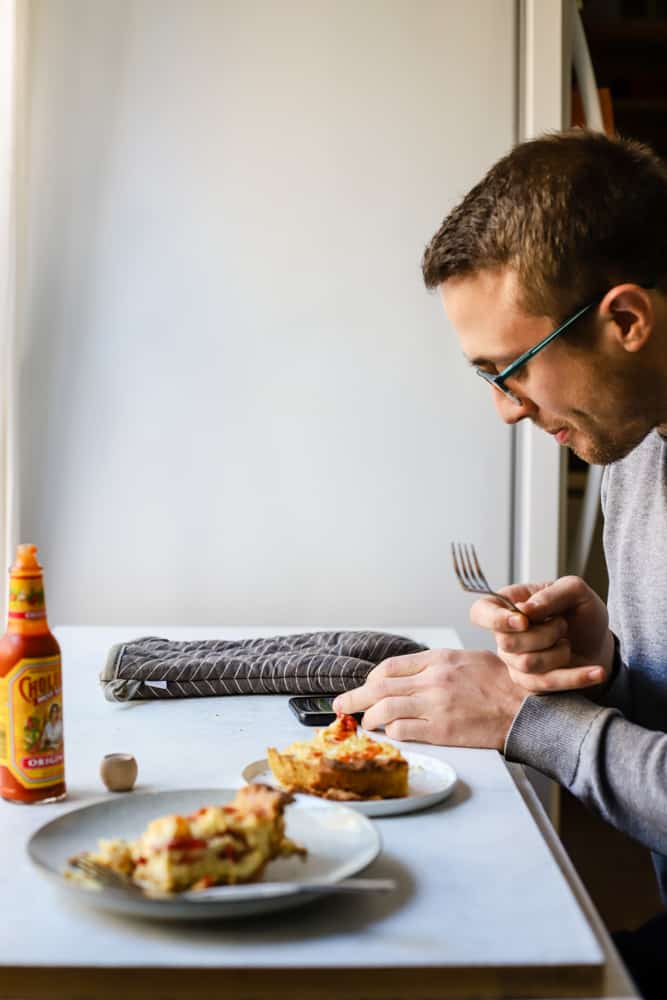
For me, quiche is to be enjoyed with loved ones... and Cholula hot sauce... 🙂
📖 Recipe
Roasted Red Pepper and Cheddar Quiche
- Total Time: 1 hour 50 minutes
- Yield: Serves 8
Description
This cheddar and roasted red pepper quiche is nourishing and perfect for brunch, breakfast, or any meal! Made with a gluten free crust using chickpea flour.
Ingredients
- 1 recipe chickpea flour pie crust
- 1 12-oz. jar roasted red peppers, diced
- ½ large yellow onion, diced
- 1 cup sharp cheddar cheese, grated
- 7 large eggs
- ¾ cup milk (dairy or plant-based will work)
- ¼ tsp each salt and pepper
 Get Recipe Ingredients
Instructions
- Preheat your oven to 350 degrees and spray a pie dish with nonstick spray.
- Prepare the pie crust: Take one prepared chickpea flour pie crust dough disc out of the fridge and allow to sit for a couple minutes, while you flour a clean kitchen work surface. Remove the dough disc's plastic wrap and discard. Set the dough disk on the floured work surface and sprinkle more flour onto the dough. Begin rolling it out with a floured rolling pin, turning the dough over occasionally to keep from sticking. Add more flour to the work surface or dough as necessary. Roll it out until it's about ¼" thick. Transfer carefully to the pie dish and flute the edges.
- Blind bake the crust: If you have pie weights and a pie shield, place the weights over a piece of parchment paper in the crust, and place the pie shield over the edges of the pie crust. Blind bake at 350 for 7 minutes, then remove from the oven and remove pie weights once cooled.
- Prepare the quiche filling: While blind baking the crust, blend the eggs, milk, salt, and pepper in a blender until frothy (about 20 seconds).
- Fill the crust: Sprinkle onions, roasted red peppers, and cheese evenly into the crust. Pour the egg mixture over the top.
- Bake the quiche: Return quiche to the oven (with pie crust shield), and bake at 350 degrees for 55 minutes, or until eggs are solidified.
Notes
- Pie Shield: If you don't have a pie shield, you can make one using aluminum foil. I highly recommend protecting the crust with pie shield so it doesn't get too brown in the oven.
- Pie Weights: If you don't have pie weights, you can use a pound of dried beans, removed from any packaging.
- Salt: Cheese and other quiche add-ins (helloooo bacon) can be salty enough! You can reduce or omit salt in this recipe for equally delicious results if you have salty ingredients.
- Prep Time: 1 hour
- Cook Time: 50 min
- Category: Breakfast, Brunch, Lunch
- Method: Bake
- Cuisine: French
Leave a Reply