If you own a Ninja Foodi pressure cooker, you can make perfect hard-boiled eggs on the regular! We love this method for making boiled eggs because they come out consistently and are easy to peel every time.

These days, I mostly make jammy boiled eggs on the stovetop. But when I want a more hands-off method (such as for meal prep or making a big batch), a Ninja Foodi pressure cooker is so useful!
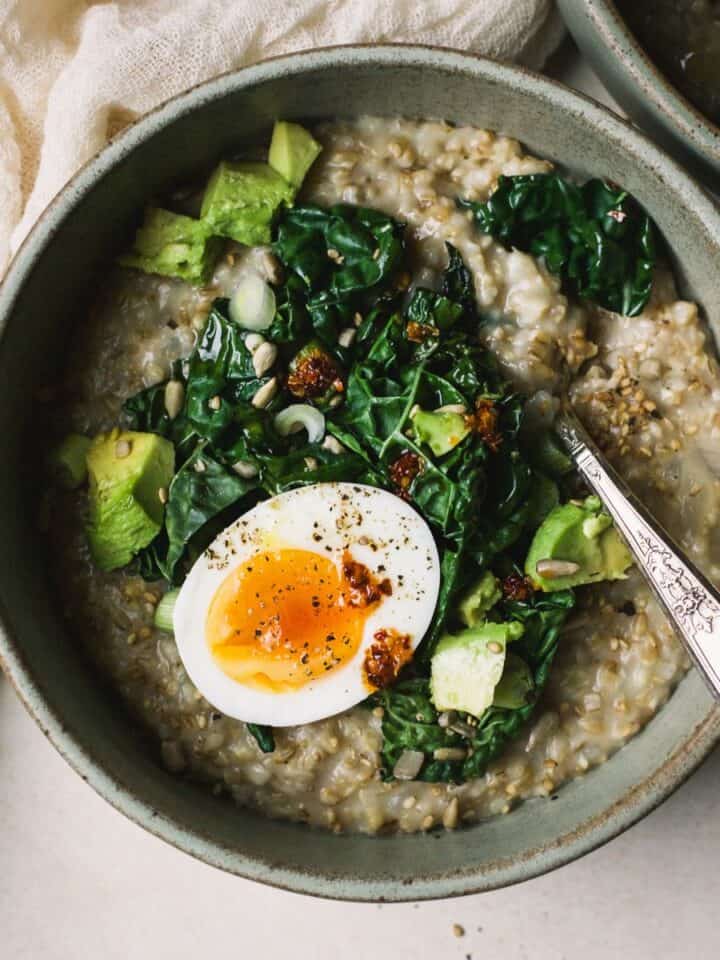
Pressure cooker hard-boiled eggs are quick, hands-off, and consistently easy to peel. Once everything is set, the cooker does the work for you, which makes this method especially nice for busy mornings, weekly prep, or holidays like Easter. My favorite weekly prep recipe using hard-boiled eggs is my homemade Greek yogurt egg salad!
Jump to:
Tools You Need
A 5-quart Ninja Foodi pressure cooker or a similarly sized Instant Pot both work for this recipe. The size of the pressure cooker does matter, so if you have a larger pressure cooker (like 8 quarts), you may need another ½ cup of water to avoid overcooking the eggs.
Both the Ninja Foodi and the Instant Pot come with wire racks that can be useful for avoiding egg cracks, but they're not absolutely necessary.
Step-by-Step Overview
Step 1
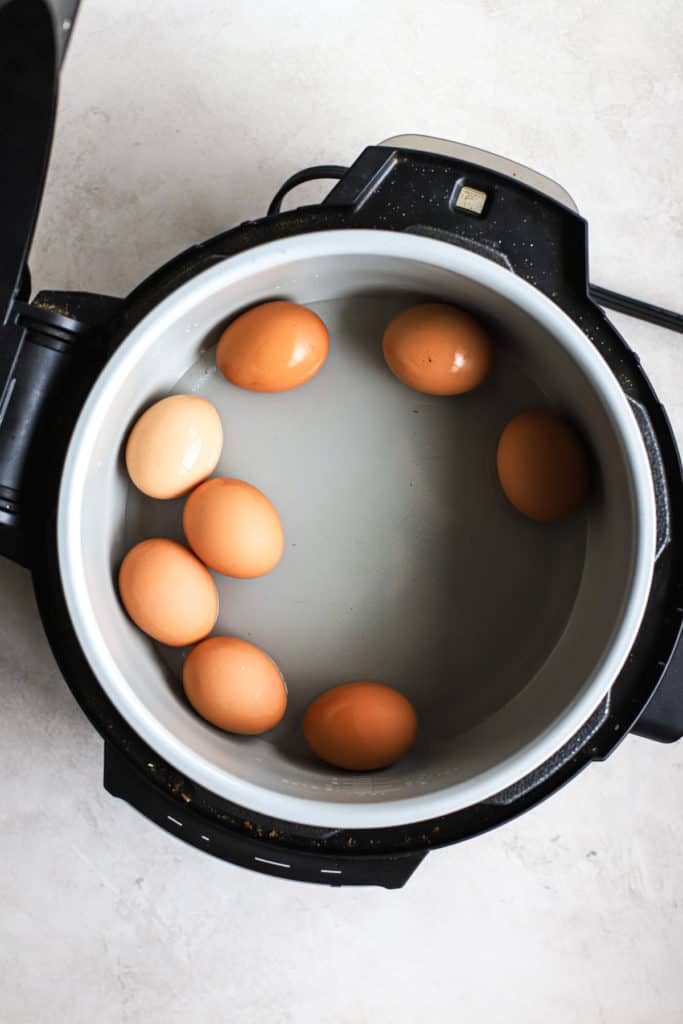
Fill the base of the Ninja Foodi with one cup of water, place the wire rack inside if using, and then gently add your eggs. Secure the pressure cooking lid, set the Ninja Foodi to High Pressure for four minutes.
Step 2
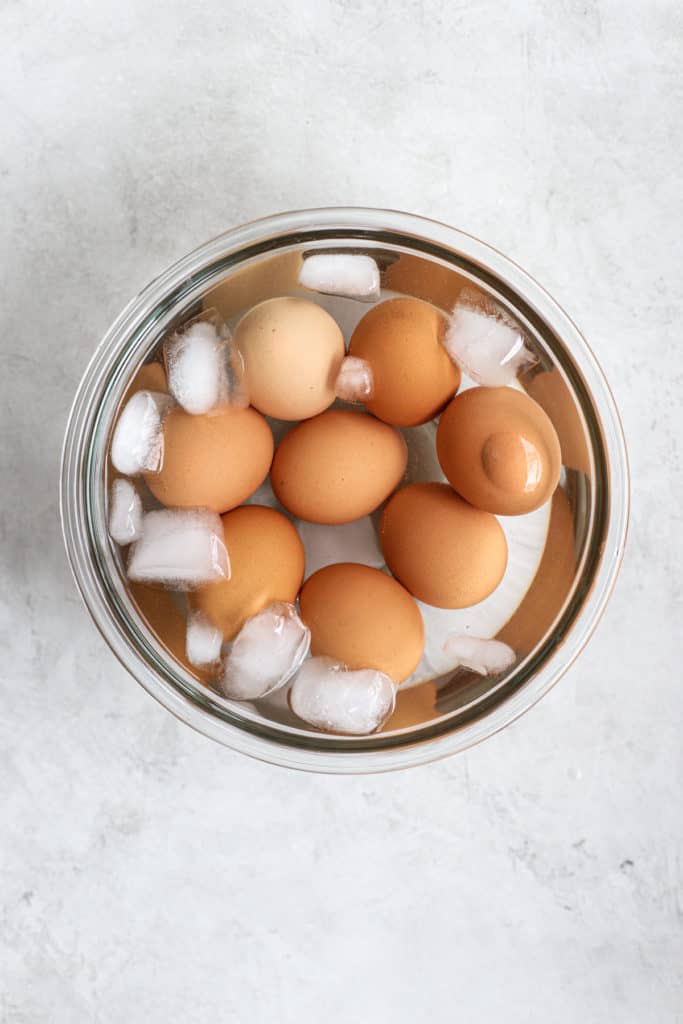
While the eggs cook, fill a bowl with water and ice (enough to submerge the eggs). When the four minutes is up, allow the pressure to release naturally for two minutes (aka don't touch yet!). Open the air release valve to release remaining pressure, then immediately transfer eggs to ice bath.
Step 3
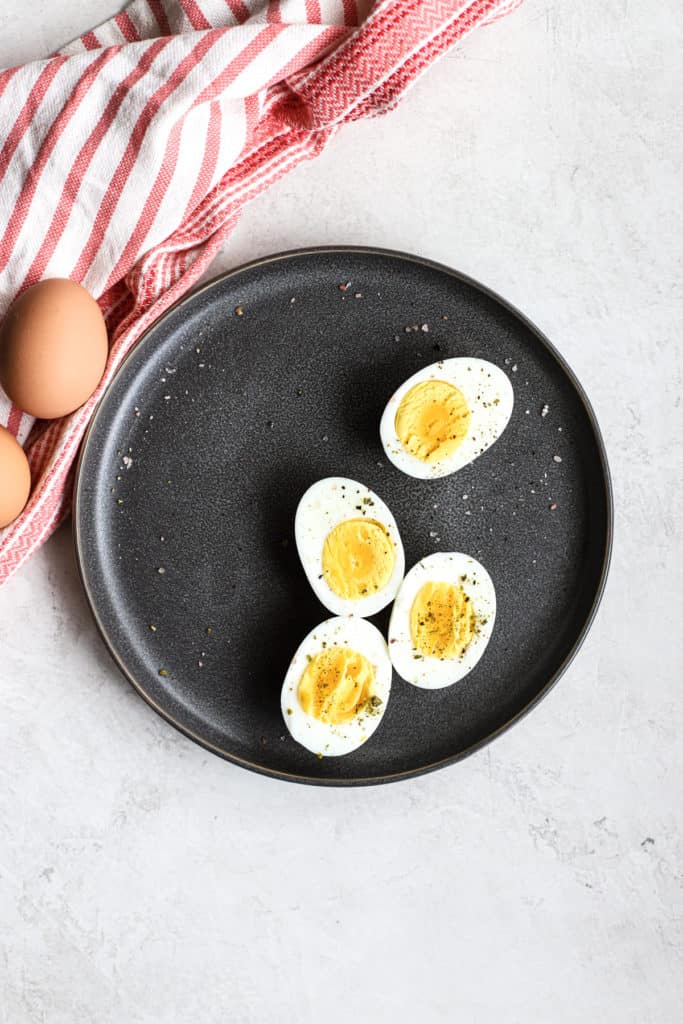
Once the eggs have had about five minutes to cool, peel and enjoy! Or place in the fridge for later.
What if My Eggs Crack?
It doesn't happen often in my experience, but when it does, it's no tragedy! Usually you'll see that a part of the white has trailed out of the egg and cooked outside of the shell. To help avoid cracking, the wire rack insert that comes with your pressure cooker can help keep the eggs from banging into the sides or each other.
How to Get a Jammier Egg
It's no secret that I love a jammy egg. If I'm not making egg salad, then a jammy egg is what I'm making (think bagels, avocado toast with everything bagel seasoning, salads, noodles).
To achieve that jammier yolk texture with a pressure cooker, cook for the full four minutes, but quick release as soon as the four minutes is up, and transfer the eggs to the ice bath immediately when release is done.
Pressure Cooker Size
Pressure cooker size matters. Since the pressure build relies on water to steam and boil the eggs, having enough water is important because it impacts how long the pressure takes to build. I have a 5-quart Ninja Foodi, but some of the newer models come in an 8-quart size. While I've only had the opportunity to test with the smaller models, I recommend increasing the water amount by ½ cup for the higher volume models.
More Success Tips
- Timing is everything. Every second counts, so try to be precise! I recommend slow releasing for no more than two minutes, then immediately flip the quick release valve. Note that less than two minutes is okay, but you will start to get a jammier egg (which is delicious).
- Prepare your ice bath while eggs are cooking or earlier. This goes along with timing, but in order to stop the cooking process, eggs need to be transferred to an ice bath immediately after the pressure release is done. I keep the ice bath and a slotted spoon or tongs next to my Ninja Foodi so that I'm ready to go.
Hard-boiled Eggs FAQs
I don't recommend it! The texture will turn tough and watery.
The FDA recommends that hard-boiled eggs do not sit out for longer than 2 hours before refrigerating.
You can store hard-boiled eggs in a container (or back in their own carton!) in the fridge for up to a week.
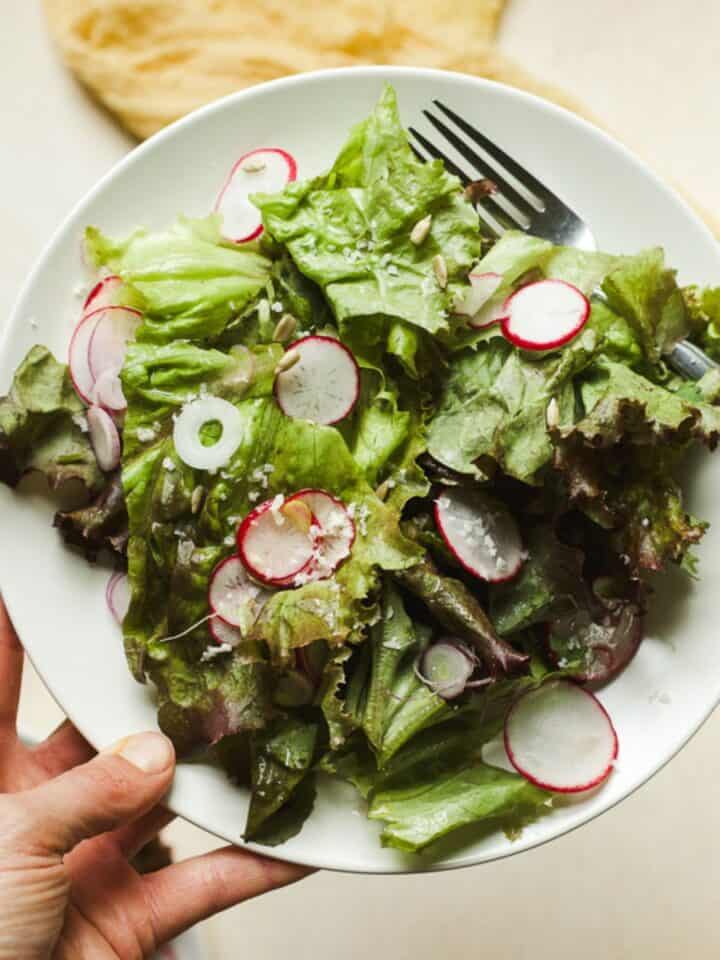
More Serving Ideas
Did you make these hard-boiled eggs? Don't forget to leave a star rating 🌟 and comment below, and tag me on Instagram and Pinterest so I can see what you made!
Print📖 Recipe

Ninja Foodi Hard-boiled Eggs
- Total Time: 15 minutes
- Yield: 8 eggs 1x
Description
Hard-boiled eggs in a Ninja Foodi are easy to peel every time, and they're done in half the time as stovetop boiled eggs. Make a batch for the week ahead!
Ingredients
- 8 eggs
- 1 cup water + more to fit in a large bowl for ice bath
- 8-10 ice cubes
Instructions
- Add eggs & water. Add the eggs and 1 cup of water to your Ninja Foodi pressure cooker, setting eggs on the wire rack insert (if using). Secure the pressure cooker lid (or transition to the pressure cooker lid using your smart lid, in the new versions of the Ninja), and set the air release valve to "seal".
- Prepare ice water. Fill a large bowl about ⅔ full with water, and add ice cubes. Set aside until eggs are done cooking (this will be used to quickly cool them and stop the cooking).
- Pressure cook eggs. Put the cook setting in "Pressure" mode, set the temperature to High, and set the time to 4 minutes, then press the Start/Stop button to start cooking. The pressure will build for a couple minutes, and then the eggs will pressure cook for four minutes. Once that's done, allow the pressure to naturally/slowly release for two minutes, then open the air release valve to quick release. Immediately remove the lid.
- Cool the eggs. Use a slotted spoon or tongs to immediately and carefully transfer the eggs to your prepared ice water bowl, and allow them to cool for five minutes. Then, remove the eggs, dry them off, and enjoy!
Notes
- Pressure cooker size (important!). I've tested this successfully in a Ninja Foodi 5-quart pressure cooker, but for larger and newer models, you may need to try with ½ cup more water to ensure the pressure build isn't taking too long and overcooking your eggs.
- Slow release time. You can slow release for less than two minutes to get a jammier yolk consistency, but try not to go more than two minutes unless you want a very hard-boiled egg.
- Storage. Store your hard-boiled eggs in the fridge in a container (or in their original carton) for up to a week. I don't recommend freezing these eggs, and the FDA-recommended max for room temperature storage is no more than two hours.
- Prep Time: 2 minutes
- Cook Time: 6 minutes
- Category: Breakfast, Lunch, Snack
- Method: Pressure Cooker
- Cuisine: Any
Nutrition
- Serving Size: 1 egg
- Calories: 72
- Sugar: 0.2 g
- Sodium: 71 mg
- Fat: 4.8 g
- Saturated Fat: 1.6 g
- Carbohydrates: 0.4 g
- Protein: 6.3 g
- Cholesterol: 186 mg

Briana Ali says
Thanks for the recipe. I was looking for an easy way to test if a used Foodi was working and this worked perfectly.
Tera Gigot says
So glad you got a chance to try it out, Briana! And glad to hear the used Foodi is working 🙂
Michael says
Sorry followed to the letter came out very hard boiled. Ninja 14.1 foodie smart lid
Tera Gigot says
Hi there! Dang, I'm so sorry to hear they didn't turn out. After doing some research on your model, I think it's possible that the size of your pressure cooker may be larger and require more water. Without enough water, the pressure build takes longer causing the eggs to be under pressure/heat for more time. I'll be adding a success tips section to the blog post to address this. I appreciate your feedback!