This easy lemon dill hummus is smooth, creamy, and perfect for snacking! It's made with simple ingredients: chickpeas, olive oil, tahini, garlic, lemon, salt, pepper, and fresh dill.

Friends, get your pita chips, crackers, and veggies ready, because this easy lemon dill hummus is smooth, creamy, and made for hardcore snacking! Perfect for sharing with a group or enjoying for yourself, this silky smooth hummus recipe might just be your new favorite. Spring and summer are a time for fresh herbs and bright flavors, and the combination of lemon and dill is pretty hard to beat-just like in this lemon dill salmon and one skillet chicken with leeks and farro. Let's make some hummus!
Jump to:
Key Ingredients

- Canned chickpeas - I love using canned as a time saver instead of dried, though you're welcome to use fully cooked dried chickpeas.
- Baking soda - Boiling canned chickpeas with baking soda helps get the skins off the chickpeas easily and softens them for a silky smooth hummus.
- Tahini - The key ingredient in hummus for its signature flavor and smooth, creamy texture.
- Olive oil - Another key ingredient in hummus for rich, delicious flavor.
- Lemon - We typically put lemon in hummus either way, but we'll use the juice of one whole lemon for this batch!
- Fresh dill - One of my favorite fresh herbs of spring! If you have leftover dill after making this hummus, use up some more with our other favorite dip: lemon herb yogurt sauce with dill.
- Ice water - Blending this in to the hummus at the end makes the hummus SUPER smooth and fluffy!
Hummus Variations
- Herbs - Trade fresh dill for fresh parsley, basil, or your favorite herb.
- Olive oil - Try an infused olive oil for extra flavor.
- Garlic - Roast your garlic or use garlic confit for a delicious garlic flavor without the bite of raw garlic. I shared how we mitigate this above, but roasted and confit garlic are alternative options that will add TONS of flavor!
- Tahini sauce - Double down on tahini?? Yes, please. Drizzle tahini sauce over the top of your hummus before serving. It'll sit on top of the hummus and flow until all the crevices, and add a rich and creamy flavor. It's SO good!
- Spicy - Spice up your hummus by adding a tablespoon of chili paste or teaspoon of chili pepper flakes to your hummus before blending.
Step-by-Step Instructions

Step 1: Place garlic and lemon juice in the base of your food processor. As the garlic sits in the acidic lemon, it will take the edge off of its spicy bite.

Step 2: While the garlic macerates in lemon juice, add chickpeas to a pot with water and baking soda. Boil the chickpeas for 12 minutes. You will start to see the chickpea skins float to the top; feel free to skim those off the surface as the chickpeas boil.
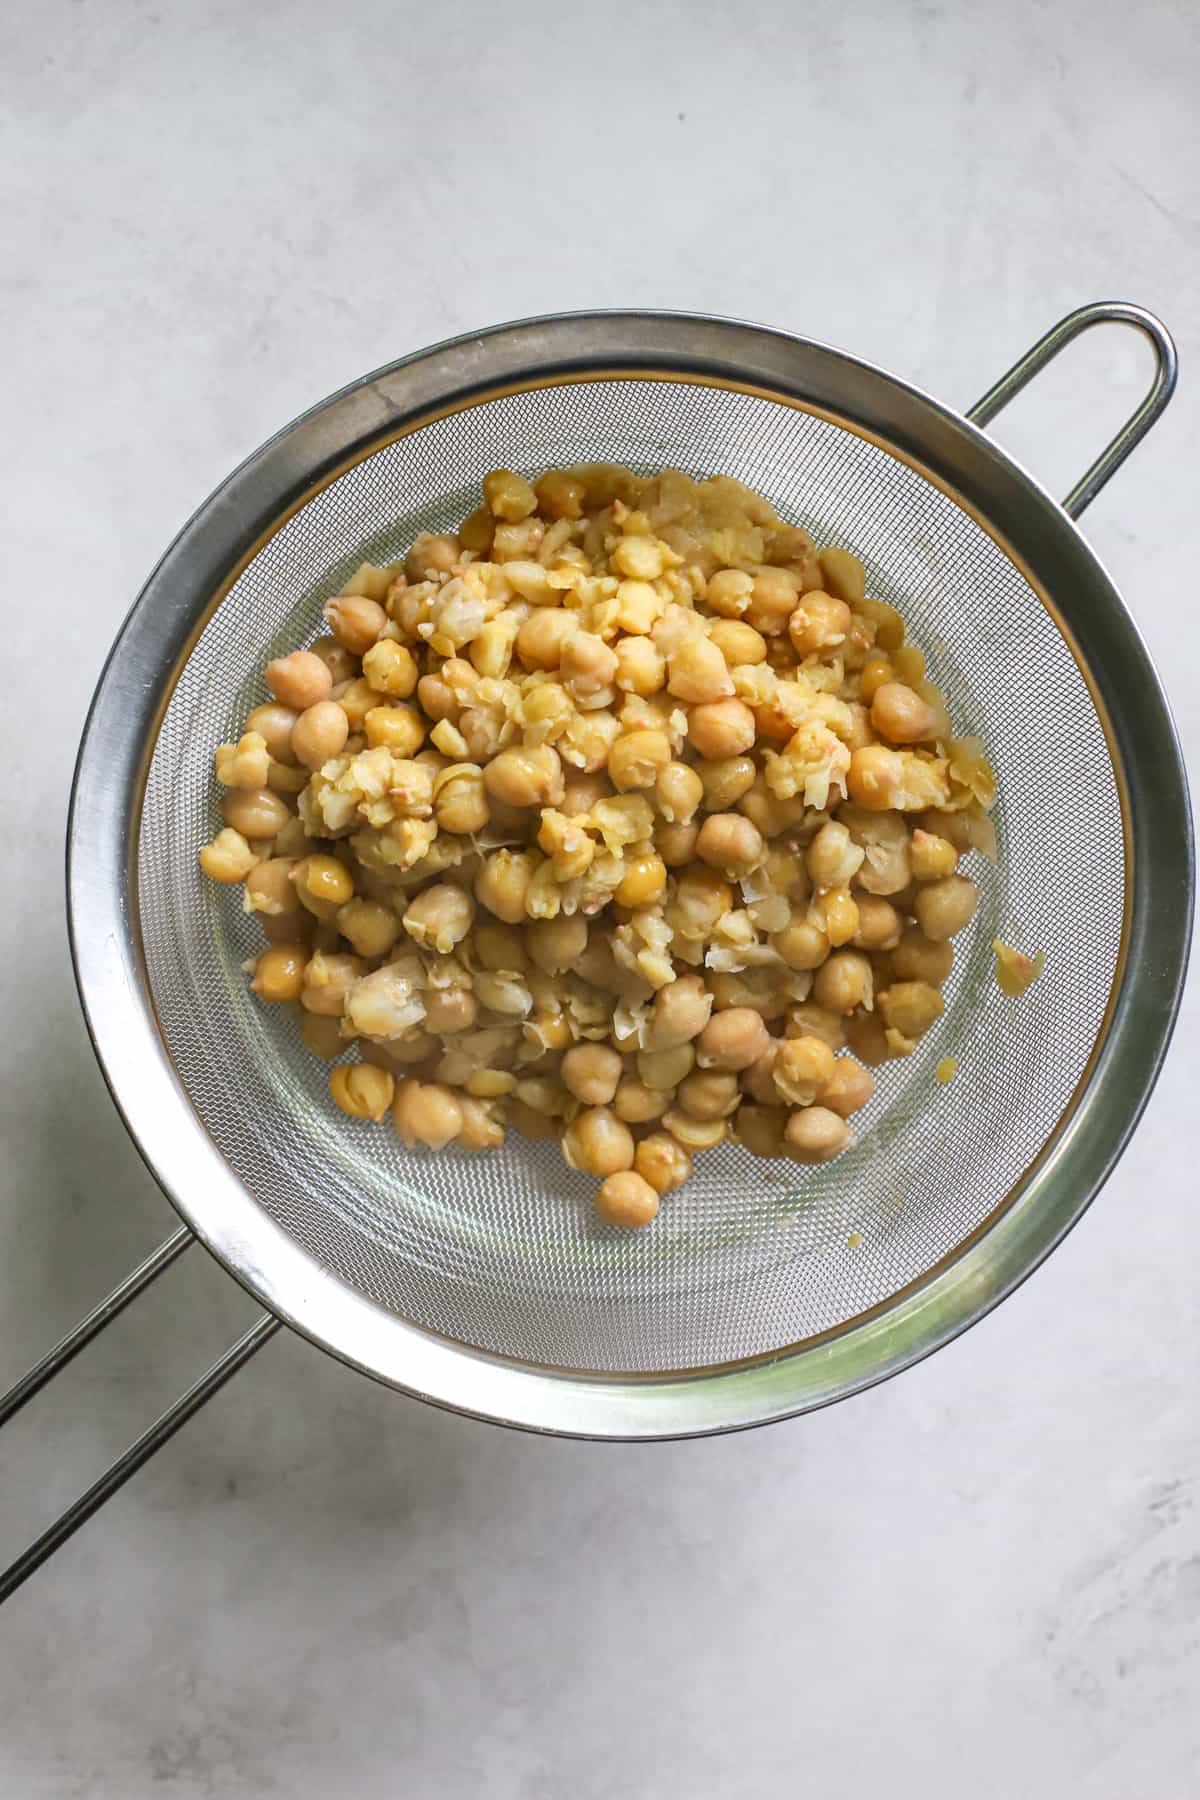
Step 3: Drain the cooked chickpeas, and remove any skins that are easy to pick out. No need to be perfect!
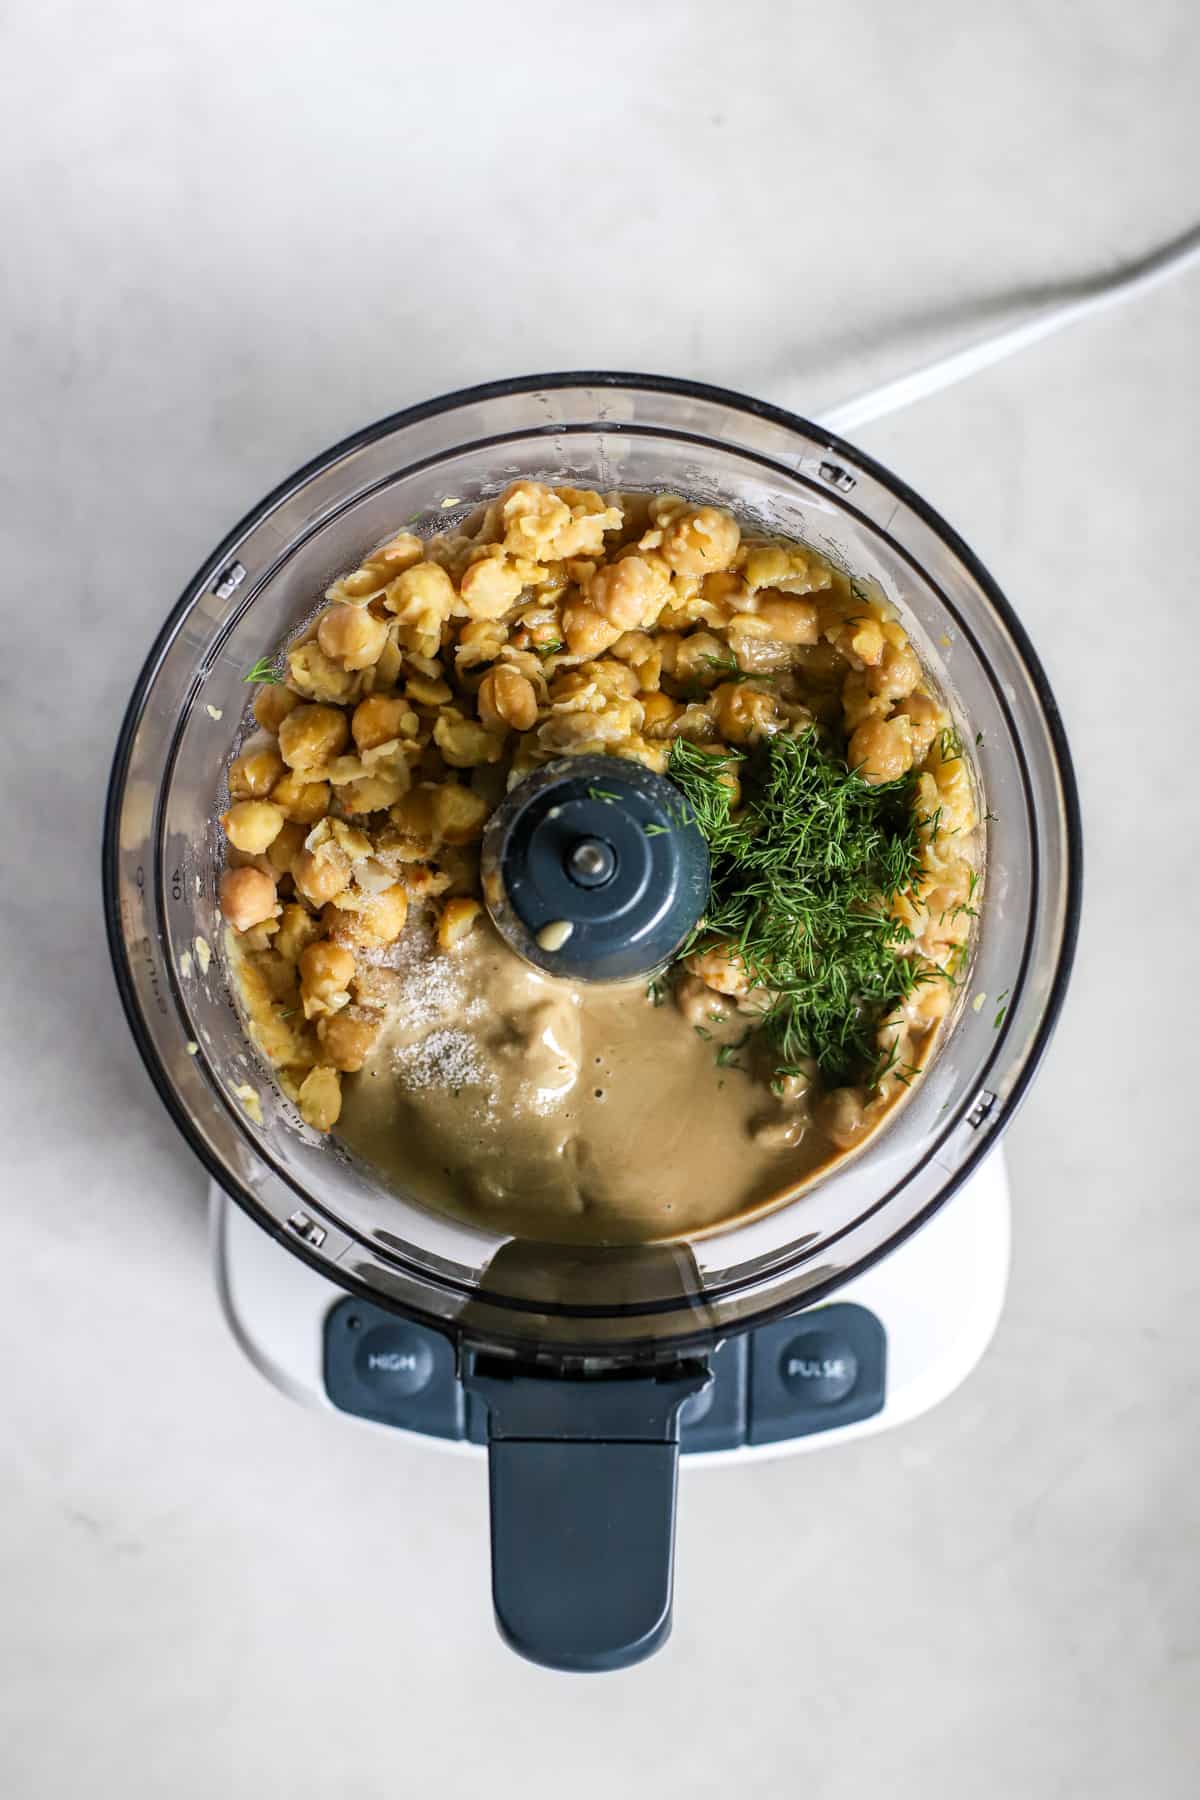
Step 4: Once the chickpeas have cooled a bit, add them to your food processor along with all other ingredients, except for the ice water.
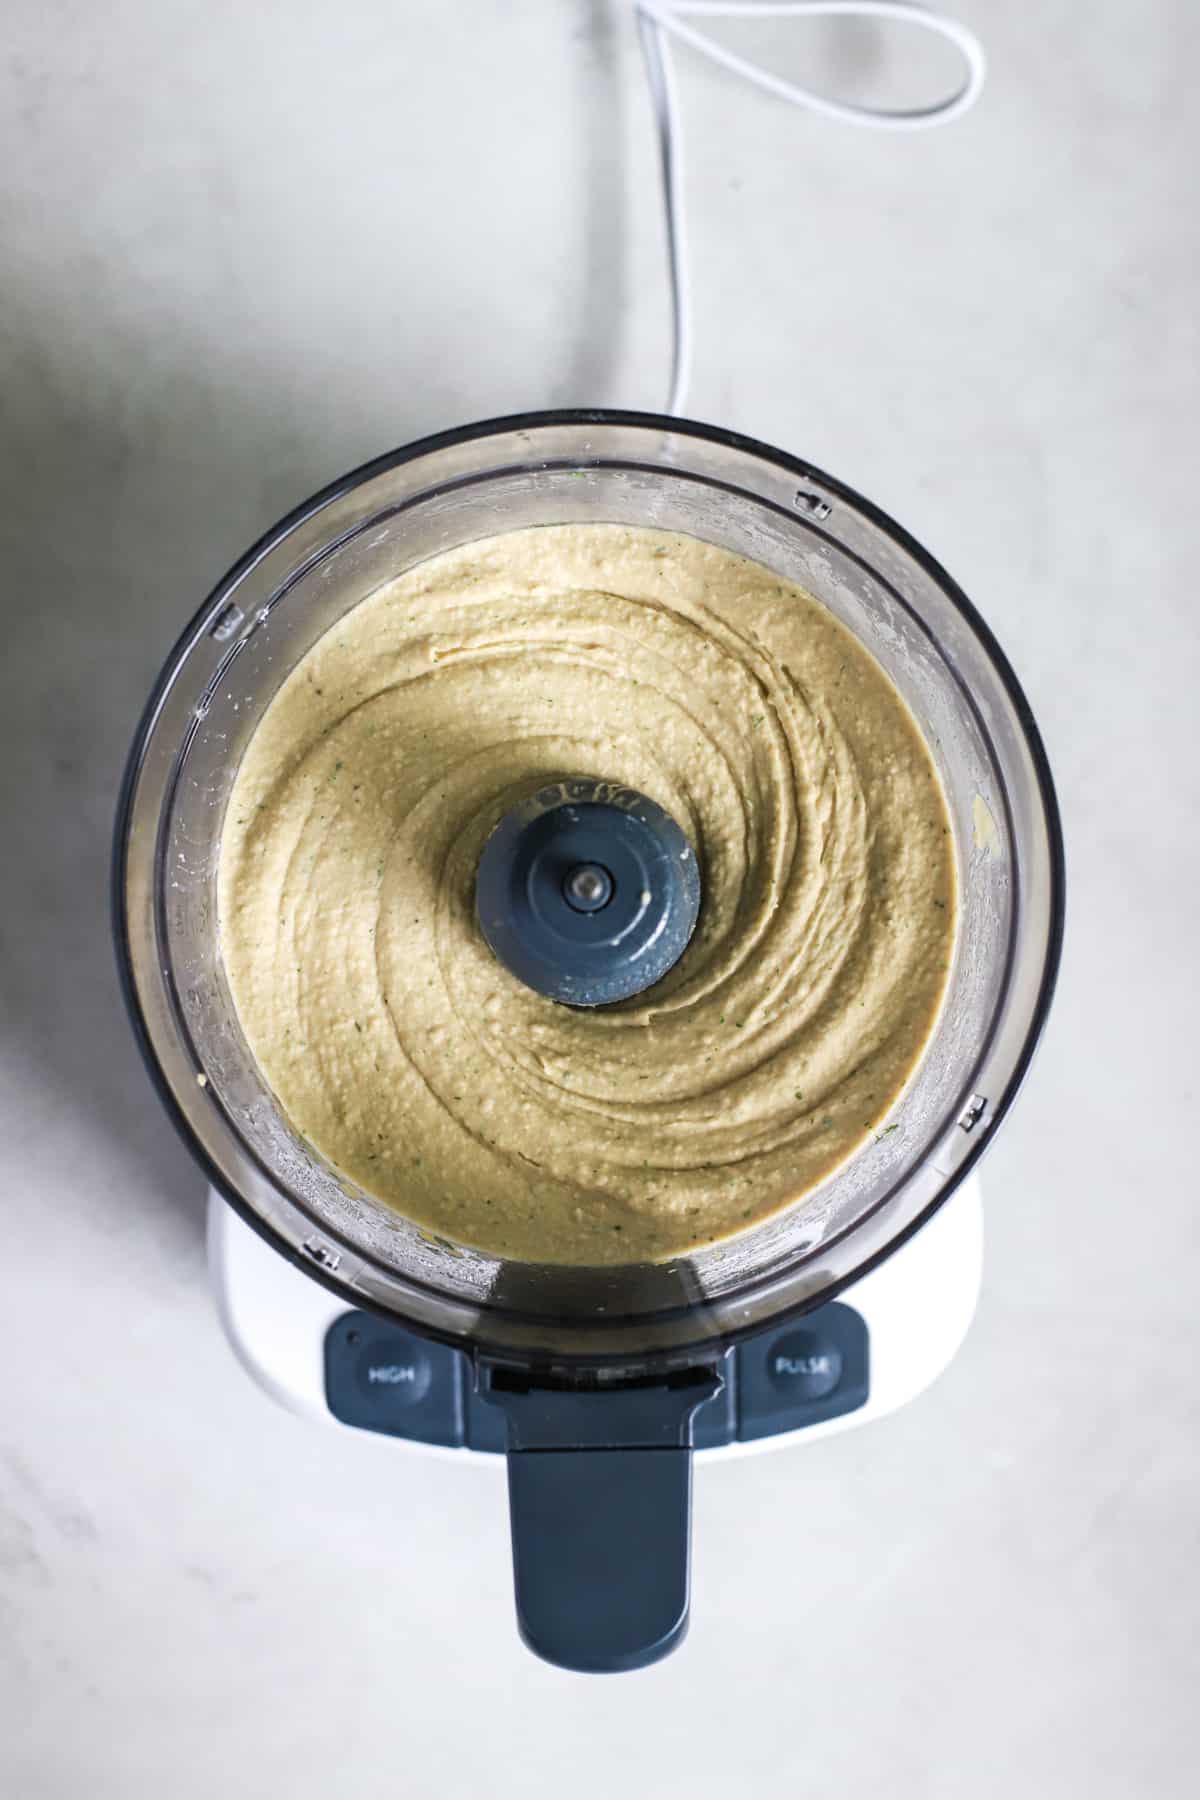
Step 5: Blend for at least one minute, until smooth.
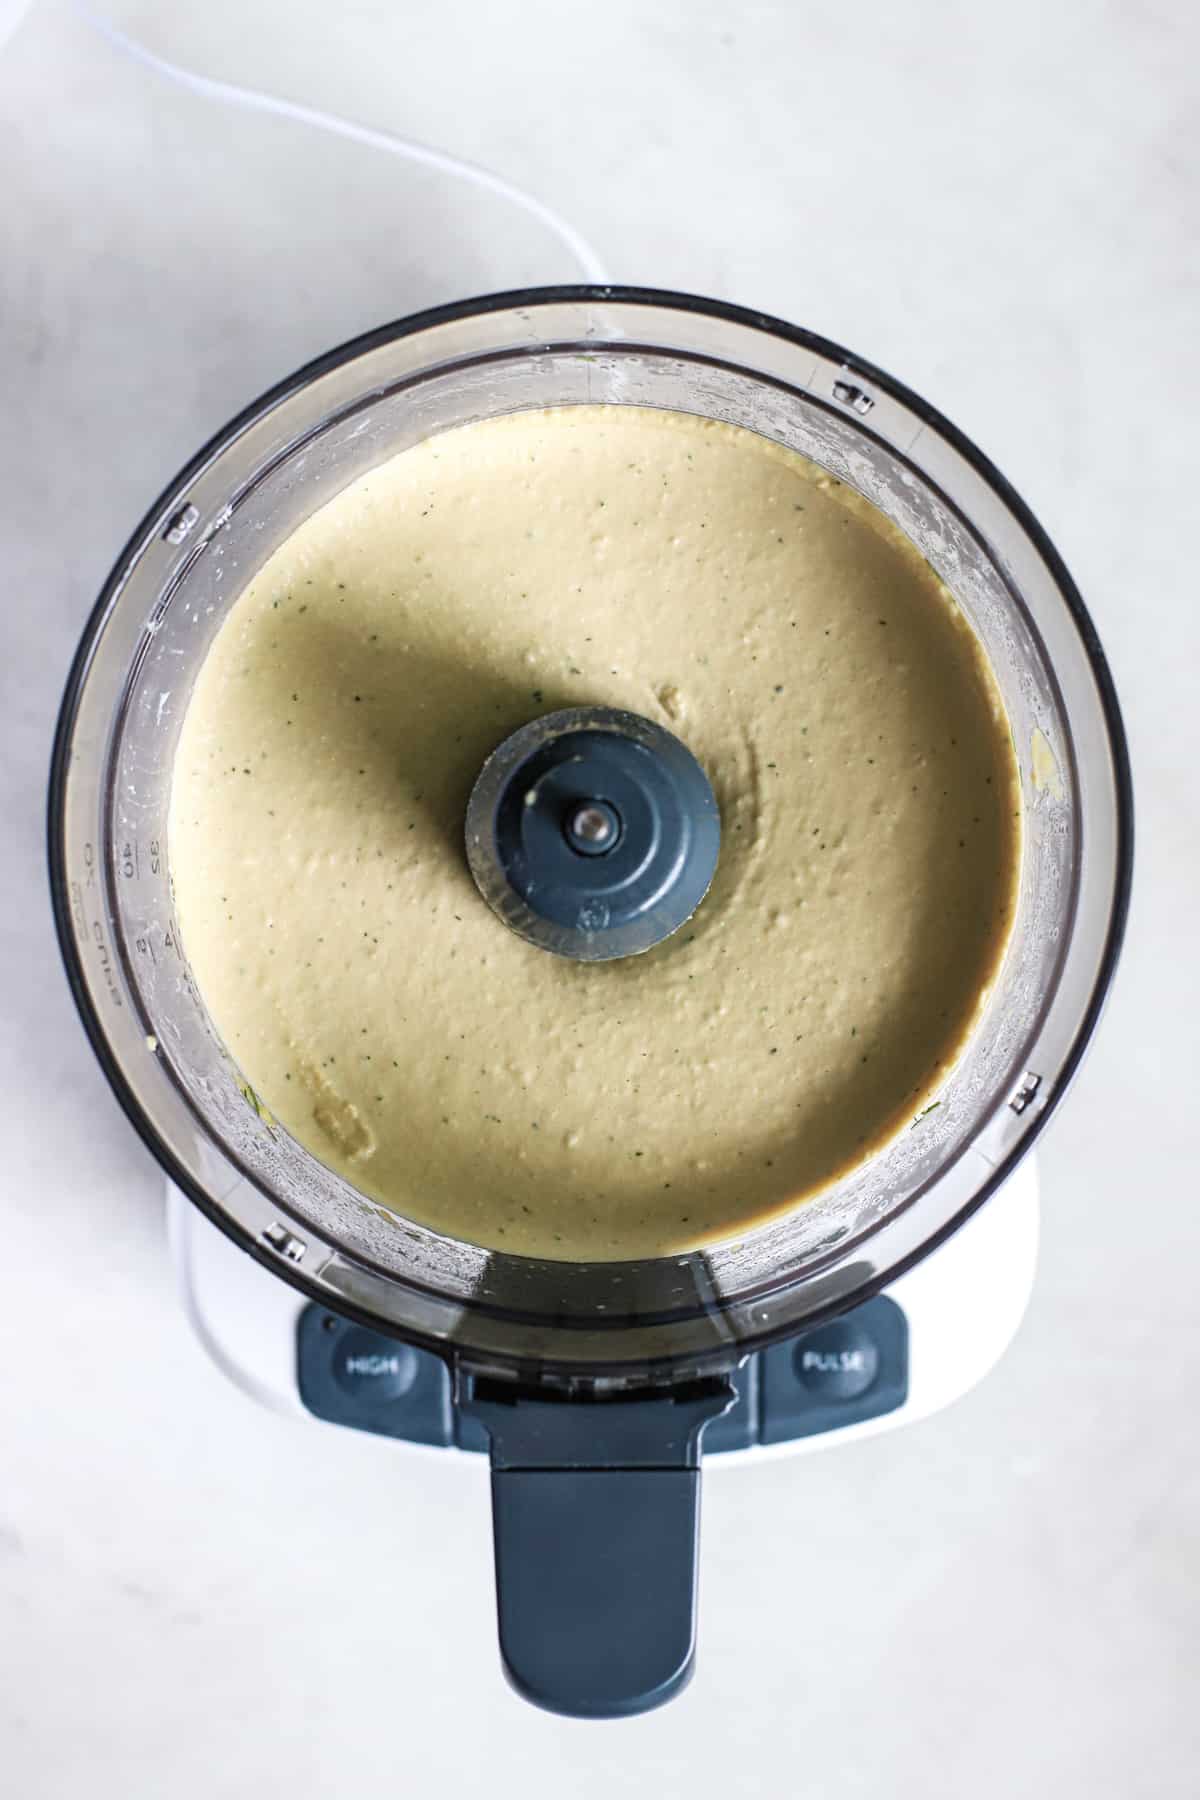
Step 6: Pour the ice water into the feed tube (if your food processor has one; otherwise just pour it in), and allow the food processor to run for another minute while the ice water drips in.
Step 7: Give it a taste test and add more salt or spices as needed. Serve with freshly cracked pepper, fresh dill, and olive oil drizzled on top!
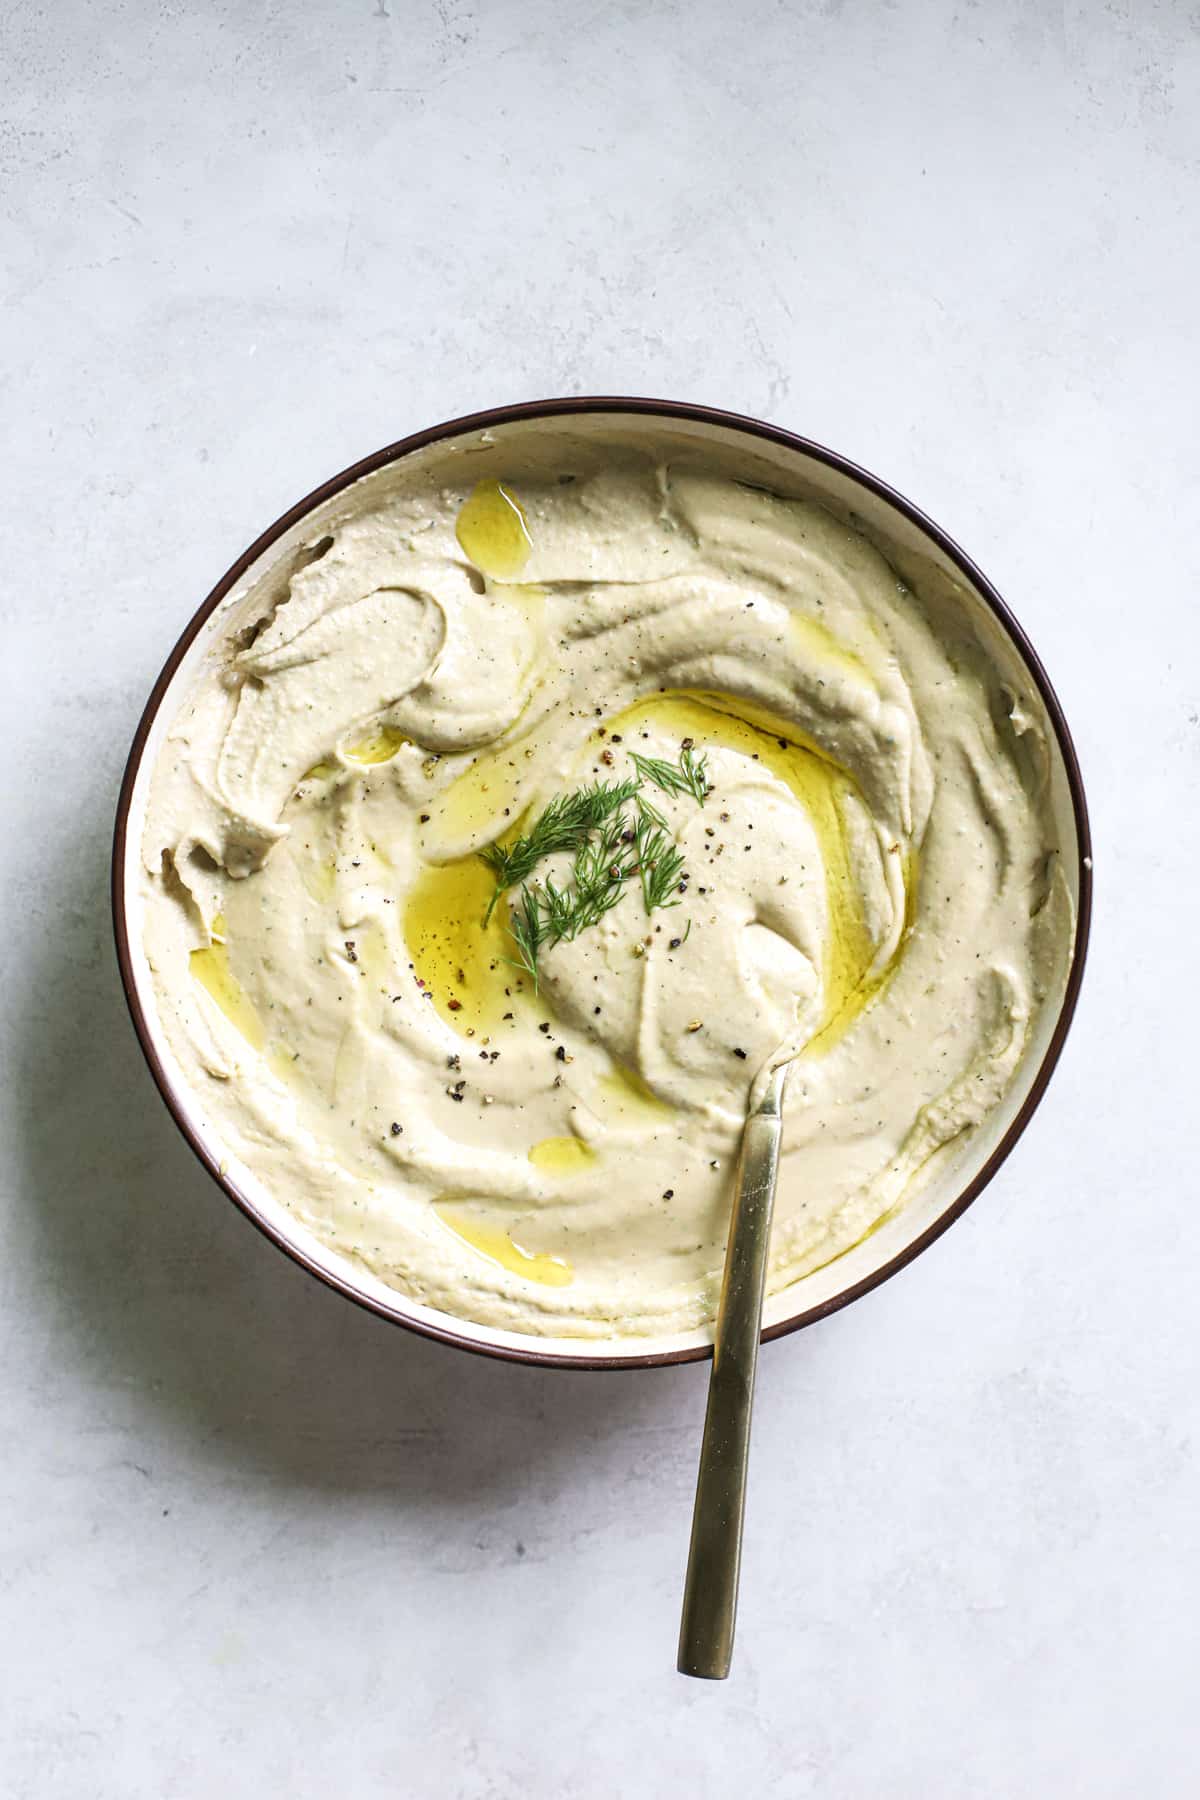
Hint: To serve this hummus in a beautiful way, set aside a few chickpeas before you boil the rest. At the end, run the back of a spoon across the hummus in its serving bowl to create some ridges, and create a small divot in the center. Add the chickpeas to the divot and drizzle olive oil over the top so that it creeps into all the crevices you created on the surface. This olive oil will protect the surface (keep it moist and fresh), plus it looks so pretty!
Lemon Dill Hummus FAQs
Store hummus in an airtight container in the fridge with a thin layer of olive oil drizzled on top to keep everything fresh. If you have time before serving, it's nice to bring the hummus to room temp for 15-30 minutes to help it soften back up.
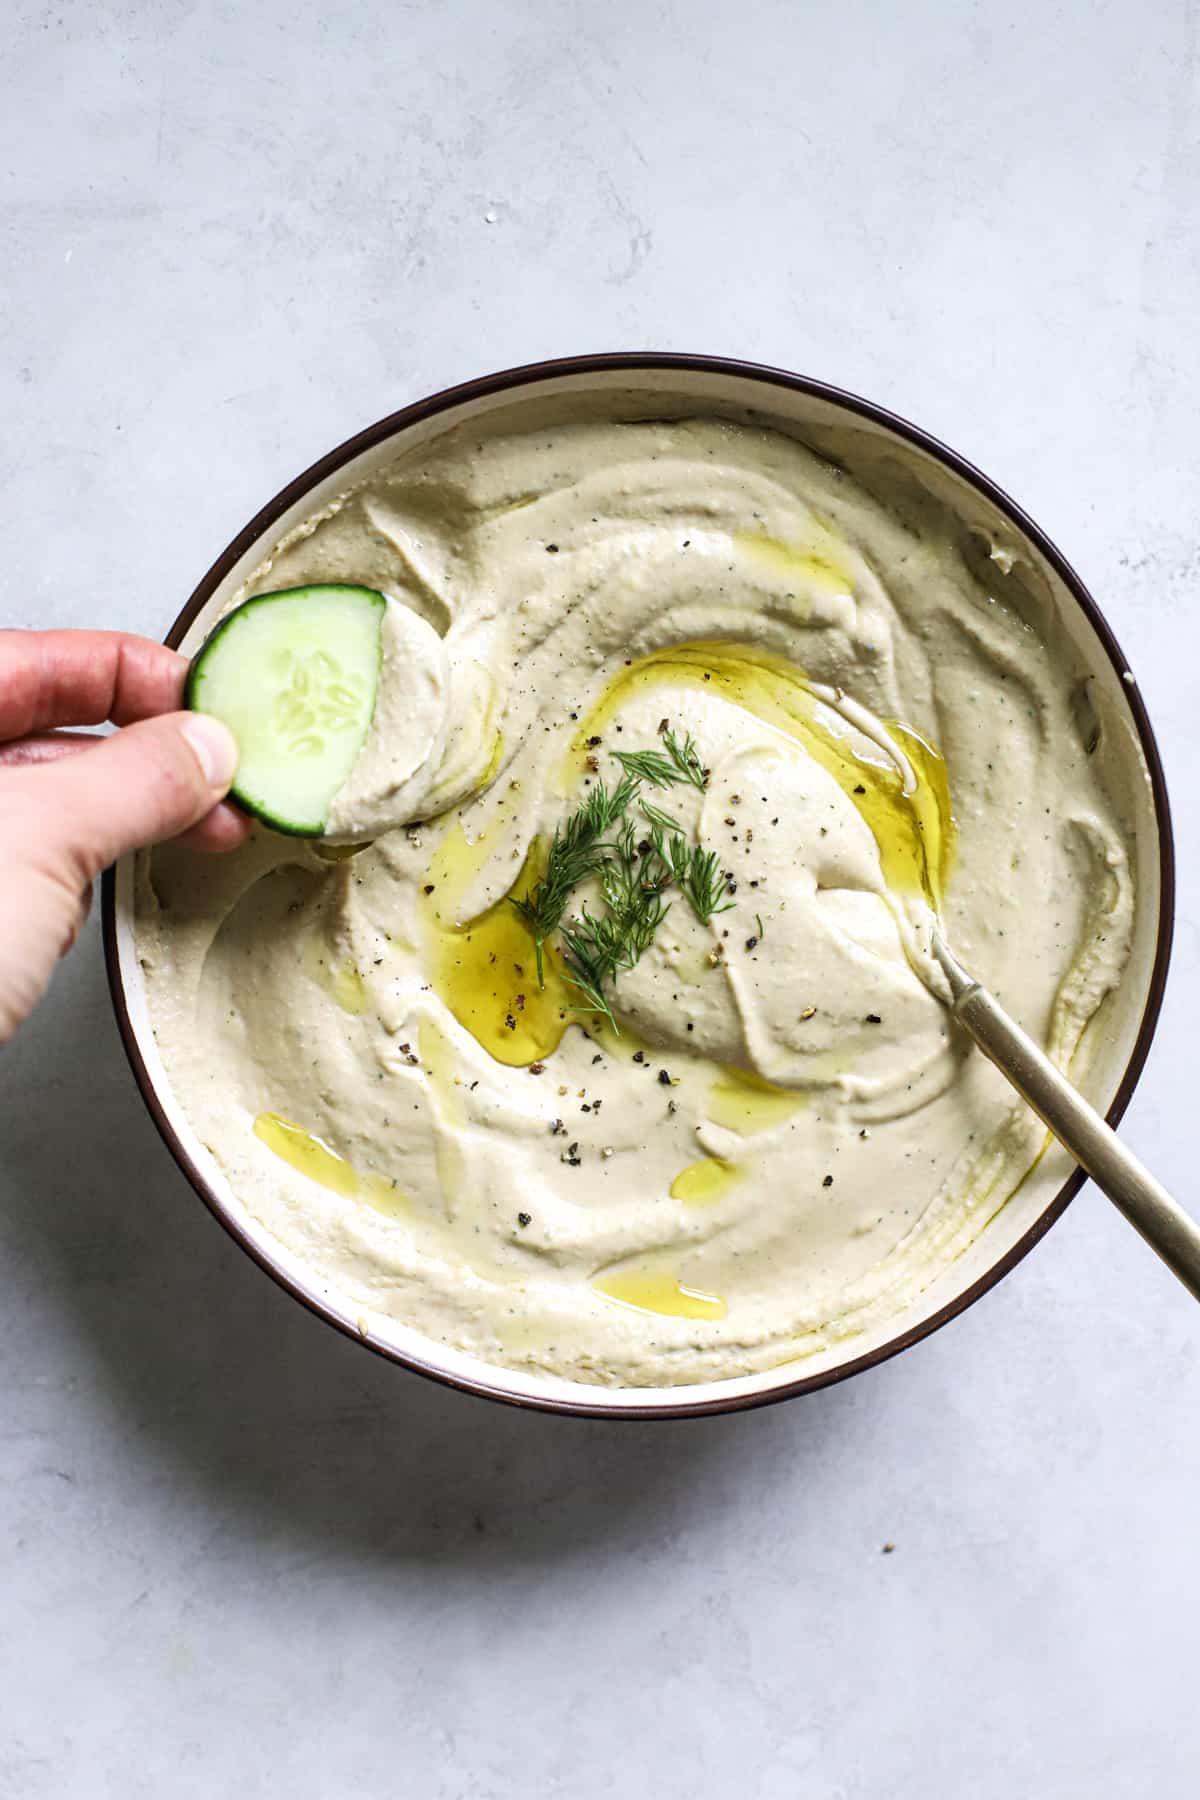
Hummus is best served with some good quality olive oil drizzled on top, alongside any of your favorite pits chips, crackers, and raw or roasted veggies! You can also serve it with eggs, on toast, or as a sandwich/wrap spread.
Nope! This is a tip I learned for making hummus extra smooth, but you could also peel the chickpeas by hand or skip removing the skins altogether. The hummus will still taste delicious.
Adding ice water to a tahini-based sauce makes it fluffy, and I love a fluffy hummus. Careful not to accidentally add in any ice cubes!
Top tip
Before serving, allow the hummus to soften at room temperature for about 15-30 minutes. It'll taste delicious either way, but room temperature homemade hummus is softer!
📖 Recipe

Easy Lemon Dill Hummus
- Total Time: 22 minutes
- Yield: 1.5 cups 1x
Description
This easy lemon dill hummus is super smooth and creamy, flavored with lemon and fresh dill! Serve with pita chips, crackers, veggies, or use as a sandwich spread.
Ingredients
- 1-2 cloves fresh garlic, sliced
- juice of 1 lemon
- 1 14-ounce can chickpeas, drained and rinsed
- ½ teaspoon baking soda
- ¼ cup tahini
- 2 tbsp olive oil, plus more for serving
- 3-4 tablespoon fresh dill
- salt and pepper, to taste
- ¼ cup iced water
Instructions
- Macerate garlic. Place sliced garlic in the base of a food processor with the lemon juice. Allow to sit in the lemon juice while you cook the chickpeas.
- Boil the chickpeas. Place the chickpeas and baking soda in a small pot and cover with water. Bring the water to a boil and reduce to a simmer, and allow the chickpeas to boil for 12 minutes. This will soften the chickpeas and encourage their skins to fall off naturally. While the chickpeas boil, you can skim the chickpea skins off the surface of the water.
- Drain chickpeas & discard skins. Once the chickpeas have boiled, they will look mushy -- that's okay! Drain the chickpeas and rinse them in cool water. If you see any skins, pick them out and discard. It doesn't have to be perfect!
- Combine & blend. Combine all ingredients in a food processor or high-speed blender, and blend for a full minute. Gradually add the iced water through the food processor feed tube or directly into the blender and blend again for up to another minute. Taste and add more salt if needed.
- Serve. Spoon the hummus onto a platter and use the back of a spoon to smooth and create some shallow crevices in the surface. Drizzle olive oil over the top and allow it to pool within the crevices - YUM! Sprinkle with more fresh dill and freshly cracked pepper.


Notes
- Boiling the chickpeas. Because of the baking soda added to the boiling water, sometimes it can boil over. Just keep the chickpeas at a simmer and keep an eye on it, stirring occasionally, and this should keep it from boiling over.
- Storage Instructions. Store hummus in an airtight container and drizzle a thin layer of olive oil over the top to keep the surface fresh. Enjoy within 8 days.
- Ice water. When ice water is combined with a tahini-based sauce, it makes it super fluffy. You can test this recipe with less than ¼ cup of water if you'd like. Careful not to accidentally add ice cubes, though!
- Prep Time: 10
- Cook Time: 12
- Category: Appetizers, snacks
- Method: Food processor
- Cuisine: Mediterranean
Nutrition
- Serving Size: ¼ cup
- Calories: 179
- Sugar: 1 g
- Sodium: 608.1 mg
- Fat: 11.6 g
- Saturated Fat: 1.6 g
- Carbohydrates: 16.2 g
- Fiber: 4.1 g
- Protein: 5.9 g
- Cholesterol: 0 mg


Polly says
Hi there, what size can do you use for the chickpeas. We have two sizes in Canada.
Thanks for your help! Look forward to trying this out!
Tera says
Oh great call-out! I used 14-oz. cans of chickpeas. I'll update the post with this information as well. Hope you enjoy the recipe!
Cindy says
Chickpeas come in two sizes of cans where I live in Canada. What size can do you use?
Thanks so much!
Tera says
Hey Cindy! Thanks for calling this out. I used 14-oz. cans in this recipe, and will add this clarification into the post as well. Hope you enjoy the recipe!
Denice says
Talk about humma-humma! So easy and so delicious. Definitely coming back to this one.
Heather says
I don't usually like hummus but I wanted to give this a try. It is really good! Perfect recipe, I will be making this again and again!
Tera says
Hi Heather! I'm so happy you tried and liked it! Thanks so much 🙂
rebecca says
can i leave out tahini?
Tera says
Hi Rebecca! I think tahini is essential for the flavor and texture of this recipe. If you really want to leave it out, the results will be different, and I suggest replacing it with another liquid-y substance (such as more olive oil) to help the hummus ingredients move around in the food processor and to achieve smooth results. I haven't tested it this way, so I can't vouch for results, but please let me know how it goes if you try it!